Now Reading: 10 Chicken Cutlets Mistakes You’re Probably Making (And How to Fix Them)
-
01
10 Chicken Cutlets Mistakes You’re Probably Making (And How to Fix Them)
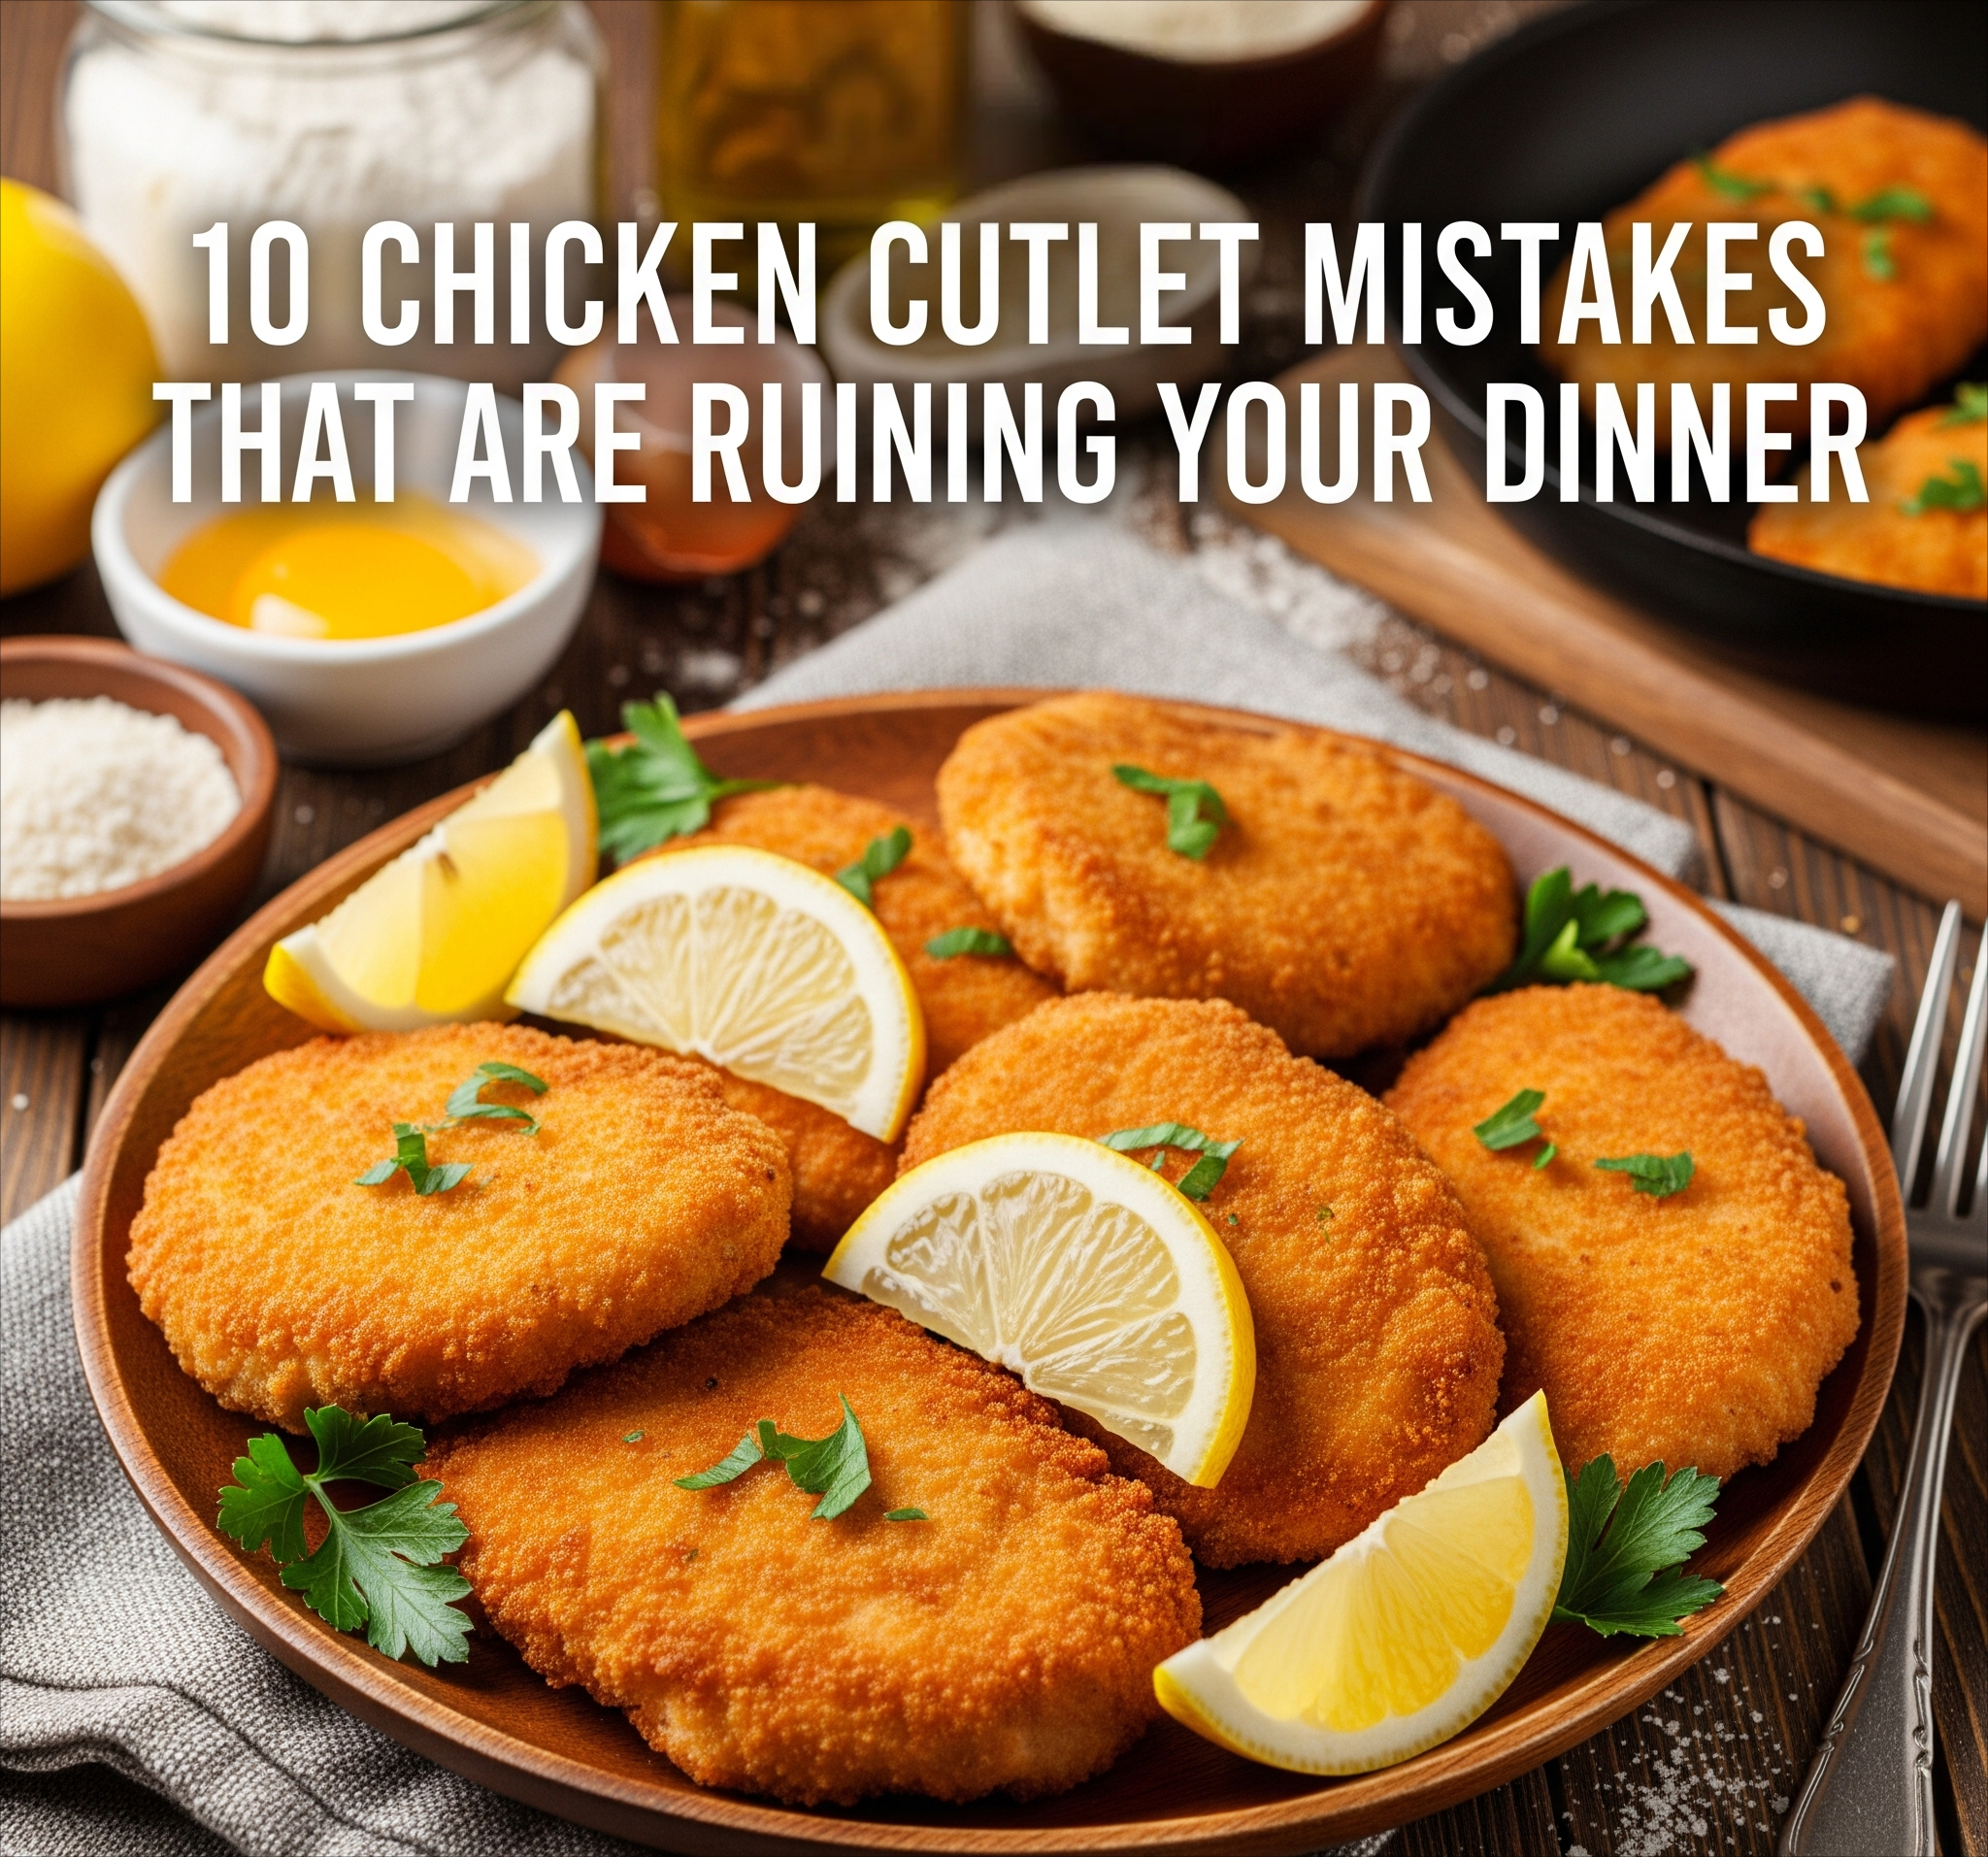
Whether you’re prepping dinner on a weeknight or trying to impress with a crisp, golden crust, chicken cutlets can either be the hero of the plate or fall flat due to a few simple mistakes. Even seasoned home cooks make common errors that lead to soggy breading, rubbery meat, or underwhelming flavor.
In this post, we’ll walk you through the most common chicken cutlet mistakes and how to avoid them. Nail these tips, and you’ll be well on your way to perfect, juicy, crispy chicken every time.
For a broader overview of techniques, tools, and recipes, check out our Ultimate Guide to Chicken Cutlets Recipes in the USA.
1. Skipping the Pound: Uneven Thickness Ruins It
One common mistake when preparing chicken cutlets is skipping the pounding step. When chicken breasts are uneven—thicker on one side and thinner on the other—they cook unevenly. The thin side may dry out while you’re still trying to cook the thicker end through, leaving you with a disappointing result.
Fix it: Use a meat mallet or a rolling pin to gently pound the chicken breasts until they’re uniformly about 1/2 inch thick. This ensures even cooking and prevents dryness.
Want to see what a well-balanced cutlet looks like? Check out our classic chicken cutlet recipe.
2. Not Seasoning the Chicken Cutlets Properly
Thinking the breading alone will carry the flavor? Think again. Seasoning only the outer layer leaves the actual chicken bland, which can ruin the overall taste, no matter how golden and crunchy your crust is.
Fix it: Season the chicken with salt and pepper before dredging. You can also marinate it in buttermilk, garlic, and herbs for extra flavor and tenderness.
3. Using the Wrong Breading Technique
A lot of people mess up the dredging process. Skipping the flour step or over-handling the chicken can lead to coating that slides off during cooking.
Fix it: Stick to the tried-and-true Flour → Egg → Breadcrumbs method. Pat the chicken dry before starting, and press the breadcrumbs in gently for better adhesion.
Want a twist on flavor? Try the herb-packed crust in our Italian-style chicken cutlets.
4. Choosing the Wrong Breadcrumbs
Not all breadcrumbs are created equal. Using fine, dry breadcrumbs often results in a tough or overly dense crust.
Fix it: Use panko for a lighter, crispier crust. You can also make your own fresh breadcrumbs in a food processor for added texture.
For a healthier option, check out our keto-friendly chicken cutlets, which use almond flour and still get a beautiful crisp.
5. Frying at the Wrong Temperature
Too cold, and your cutlets will absorb oil and become greasy. Too hot, and you risk burning the outside before the inside is done.
Fix it: Keep your oil between 350°F and 375°F. Use a thermometer or drop a breadcrumb into the oil—if it sizzles steadily, you’re good to go.
6. Overcrowding the Pan
Adding too many cutlets at once reduces the oil’s temperature and creates steam instead of a crisp fry.
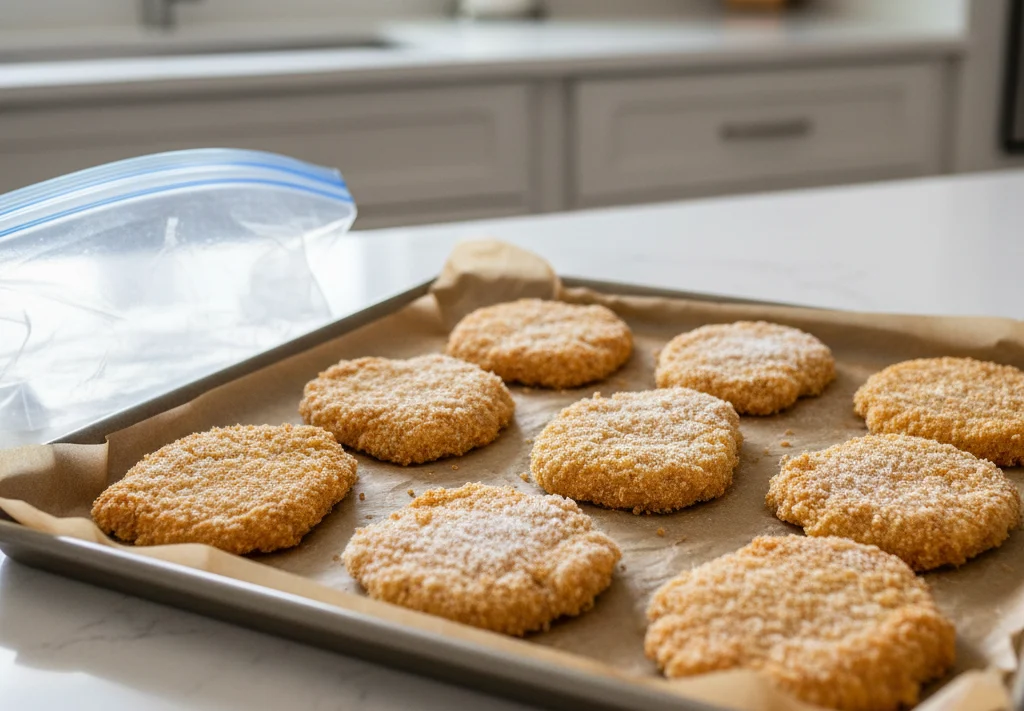
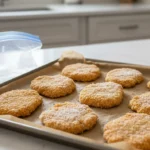
Fix it: Cook in batches. Give each cutlet room to breathe so they fry, not steam. Prefer a no-fry option? These sheet pan chicken cutlets are great for oven lovers.
7. Not Letting the Coating Set
Going straight from the breading station to the frying pan might save time, but it also risks ruining your crust. The coating needs a little time to bind.
Fix it: Let the breaded chicken sit for 10–15 minutes before frying. This helps the coating adhere better and cook more evenly.
8. Skipping the Drain
Fresh out of the oil, your cutlets are crispy perfection, but if you pile them on a plate, steam builds up underneath and makes them soggy.
Fix it: Always transfer them to a wire rack or paper towel-lined plate to drain. This keeps them crisp and grease-free.
9. Using the Wrong Oil or Pan
Using butter or low smoke-point oils like olive oil might sound fancy, but they burn too fast and ruin your coating. Thin pans also cause uneven frying due to hot spots.
Fix it: Choose oils like canola, peanut, or vegetable oil. For pans, use a heavy-bottomed skillet or cast iron for even frying.
10. Overcooking or Undercooking
Cutting into a beautiful cutlet only to find it pink inside, or dry as a desert, is incredibly frustrating. Trusting your eyes alone isn’t always reliable.
Fix it: Use a meat thermometer to check the internal temp—165°F is your target. Remove from the oil slightly before, as carryover heat continues to cook the cutlet.
No More Soggy Cutlets – Your Next Batch Will Be Better
Mastering chicken cutlets is about avoiding a handful of common pitfalls. With better prep, smarter frying, and the right ingredients, your cutlets can go from soggy and sad to golden and glorious.
Ready to take your cutlet skills to the next level? Looking for something lighter? Our turkey cutlet recipes offer a lean, flavorful alternative worth trying.
Your next crispy, juicy, flavor-packed chicken cutlet is just a few simple tweaks away.
FAQs
How do I keep the breading from falling off my chicken cutlets?
Make sure to pat the chicken dry, use the flour → egg → breadcrumb method, and let the breaded cutlets rest for 10–15 minutes before frying.
What type of oil is best for frying chicken cutlets?
Use neutral oils with a high smoke point, such as canola, vegetable, or peanut oil, for an even, crispy result.
How do I know when my chicken cutlets are cooked through?
Use an instant-read meat thermometer to ensure the internal temperature reaches 165°F.
Can I bake chicken cutlets instead of frying them?
Yes! Baking is a great healthier alternative. Use a wire rack on a baking sheet for even crisping, and try our sheet pan chicken cutlets for inspiration.