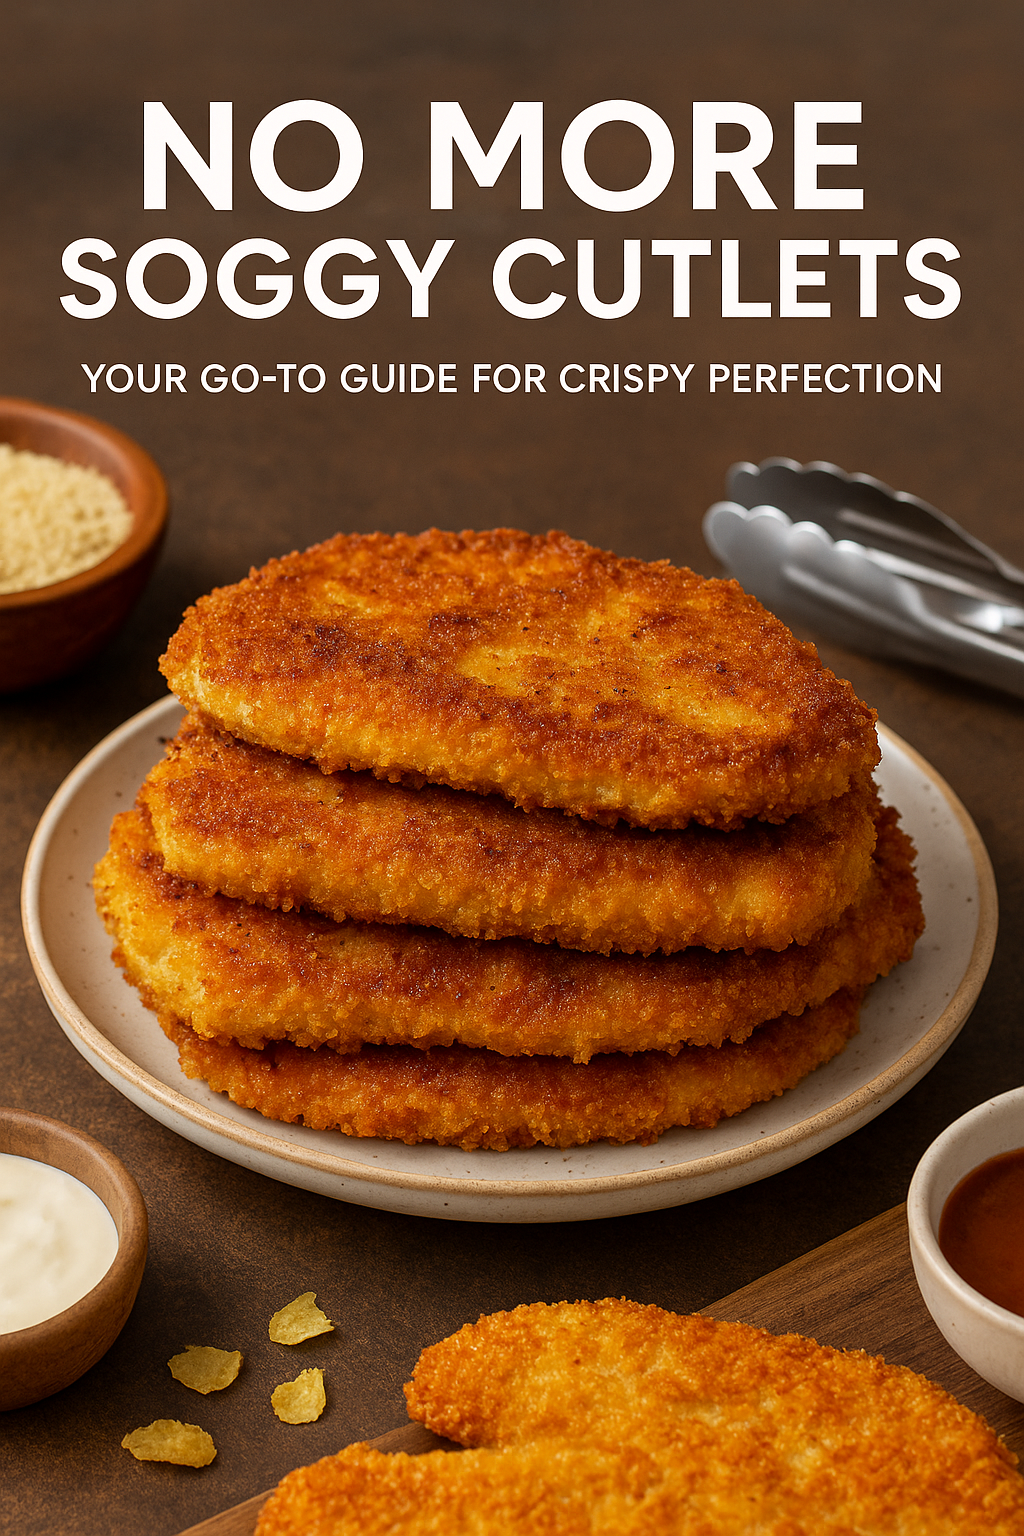
Now Reading: No More Soggy Cutlets: Complete Guide for Crispy Perfection Every Time
-
01
No More Soggy Cutlets: Complete Guide for Crispy Perfection Every Time
Few things in the kitchen are more disappointing than a soggy cutlet. You pictured a golden, crispy crust giving way to juicy goodness inside, only to end up with something limp, greasy, or oddly soft. It’s a common frustration, but it doesn’t have to be your reality.
At Cutlets King, we know the struggle all too well. That’s why we’ve put together this ultimate guide to help you ditch the sogginess for good. No more guesswork, just tried-and-true methods that lead straight to that crave-worthy crunch.
Know Your Enemy: Why Cutlets Turn Soggy
Before you can fix soggy cutlets, you need to know what’s causing the problem. Most of the time, it comes down to a few key culprits:
1. Surface Moisture:
Excess water from rinsing, thawing, or natural juices turns to steam in the pan. That steam gets trapped beneath the coating, softening the crust instead of crisping it up.
2. Wrong Oil Temperature:
- Too Low: The breading soaks up oil like a sponge, making your cutlet greasy and limp.
- Too High: The outside browns too fast while the inside stays undercooked. The crust may even burn before it gets crispy.
3. Overcrowding the Pan:
Adding too many cutlets at once causes the oil temperature to drop. That brings us right back to the “too low” issue.
4. Poor Draining:
Letting fried cutlets rest on paper towels or a plate traps steam underneath, which then softens the crust from below.
Now that you know what you’re up against, let’s talk solutions.
Step One: Preparation Is Everything
Crispy cutlets don’t start in the pan—they start with smart prep.
Dry Them Thoroughly (Yes, Really Dry):
After blotting your cutlets with paper towels, let them air-dry on a rack in the fridge for 10–15 minutes. For ingredients like paneer or potatoes, press out as much moisture as possible.
Use the Triple-Coating Method:
This time-tested technique gives you the best shot at a crunchy crust.
- Step 1 – Flour: Dust lightly with all-purpose or gluten-free flour. Shake off the excess.
- Step 2 – Egg Wash: Dip in beaten egg (with a bit of milk or water if you like). Make sure it’s fully coated.
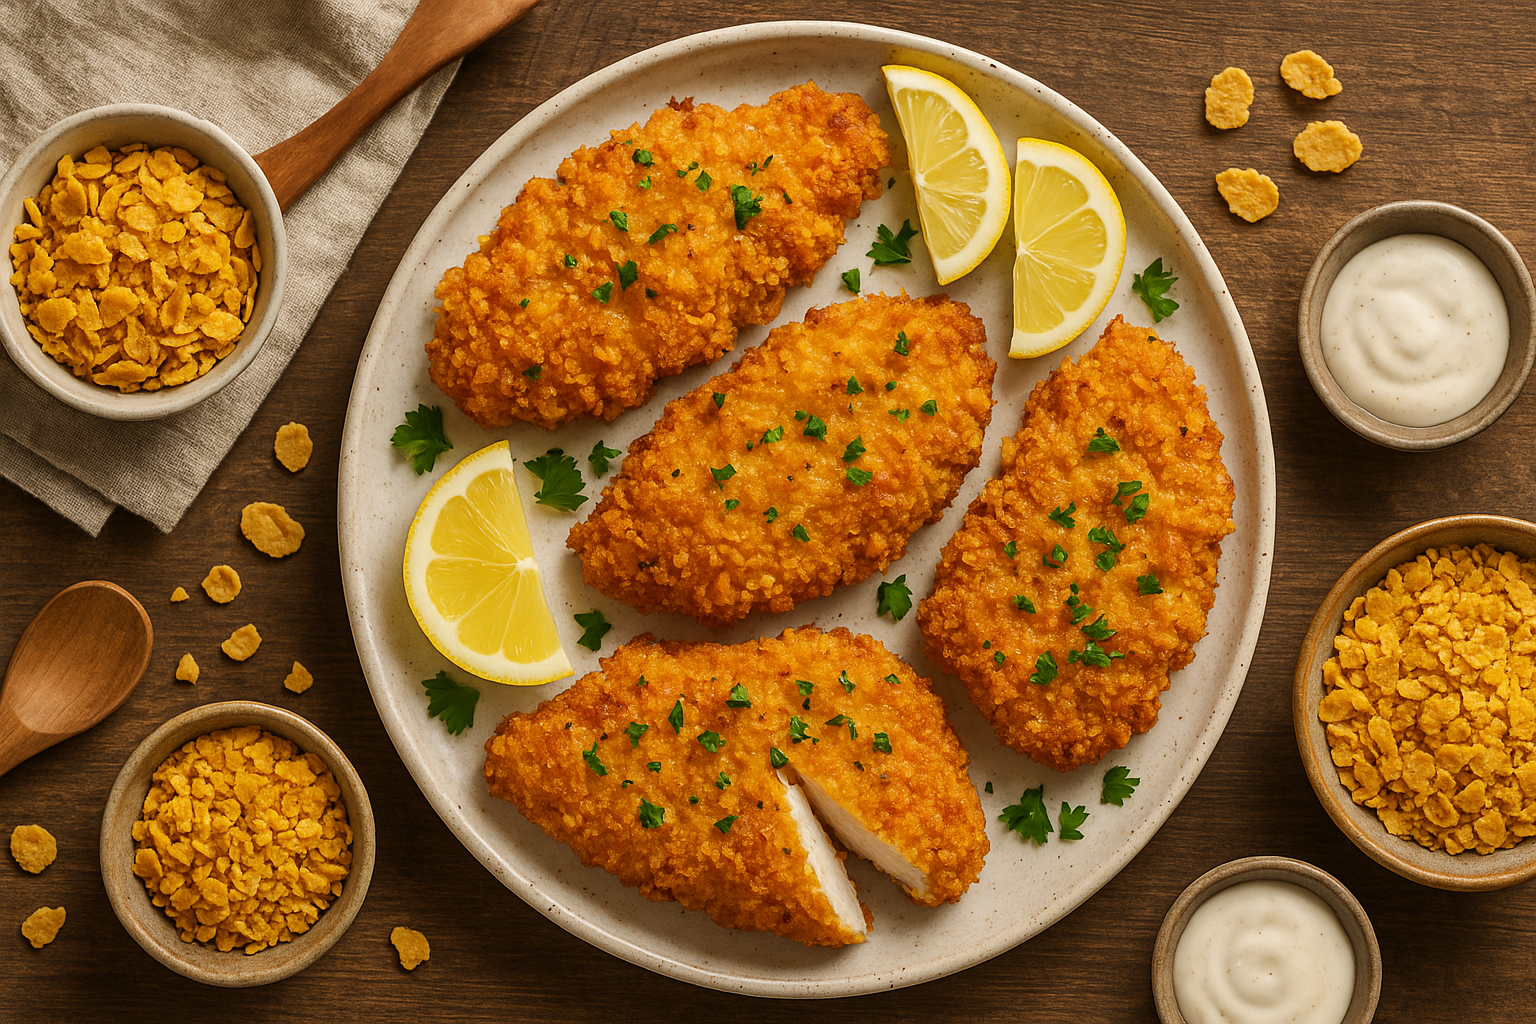
- Step 3 – Breadcrumbs: Panko breadcrumbs are ideal. Their airy, flaky texture crisps beautifully without soaking up too much oil.
Press Don’t Sprinkle:
Gently press the breadcrumbs onto the cutlet to help them stick evenly and firmly.
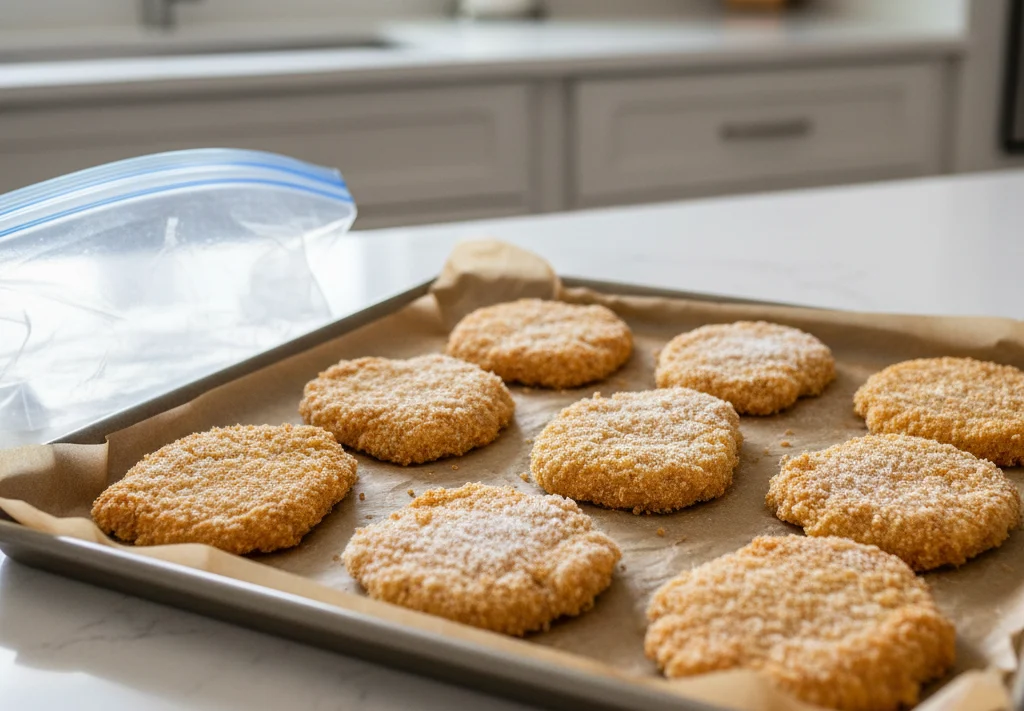
Chill Before Cooking:
Let your breaded cutlets rest in the fridge for 20–30 minutes (or longer). This helps the coating set and reduces moisture, key to getting that crunch.
Use Even Thickness:
For meat like chicken or veal, pound the cutlets to a uniform thickness (¼–½ inch) to ensure even cooking.
Pick the Right Veggies:
Choose low-moisture vegetables, or prep them to reduce water (e.g., squeeze grated veggies or thoroughly mash boiled ones).
Step Two: Fry Like a Pro
When it comes to frying, technique matters just as much as prep.
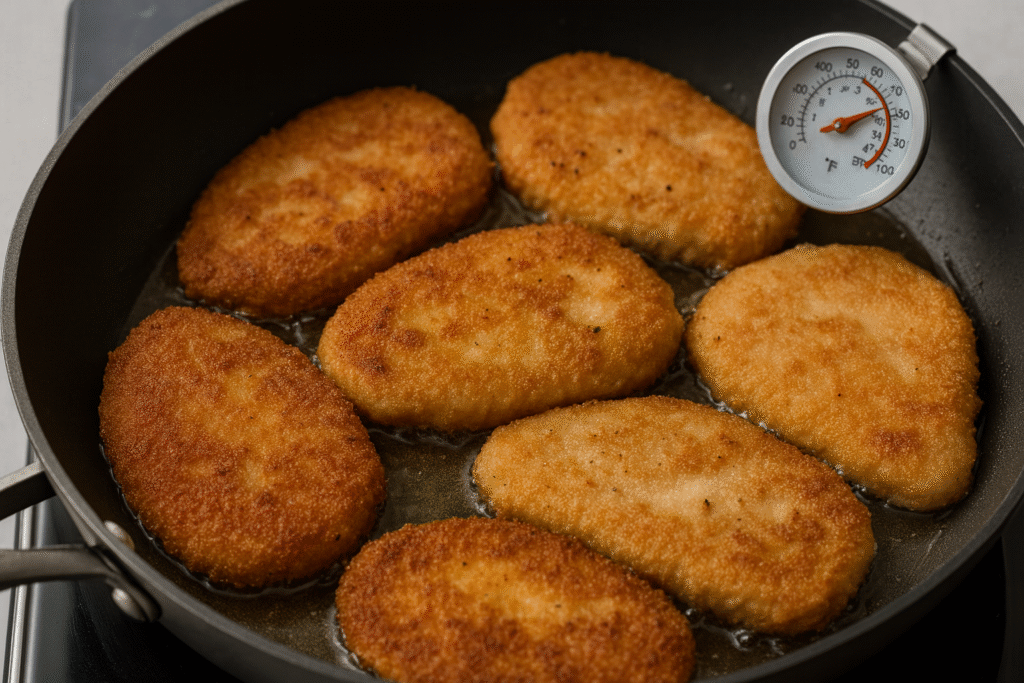
Maintain the Right Oil Temperature:
You want the oil between 350–375°F (175–190°C).
- Too cold = greasy.
- Too hot = burned exterior, raw inside.
Use a thermometer for accuracy, or test with a breadcrumb—it should sizzle and turn golden in 10–15 seconds.
Choose the Right Oil:
Go for oils with a high smoke point and neutral flavor, like canola, grapeseed, peanut, or vegetable oil. Avoid olive oil—it can’t handle the heat for frying.
Don’t Overcrowd the Pan:
Give each cutlet space. Fry in batches if needed. Too many at once drops the oil temperature and ruins the texture.
Let Them Sit:
Resist flipping right away. Let cutlets cook undisturbed for 2–4 minutes per side until golden and crisp.
Use Enough Oil:
For pan-frying, use at least ½ to 1 inch of oil so the cutlet is partially submerged. Too little oil leads to uneven browning and overcooked spots.
Step Three: Don’t Sabotage at the Finish Line
You’re almost there, don’t let the crunch slip away now.
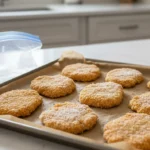
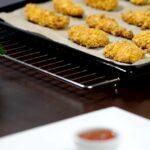
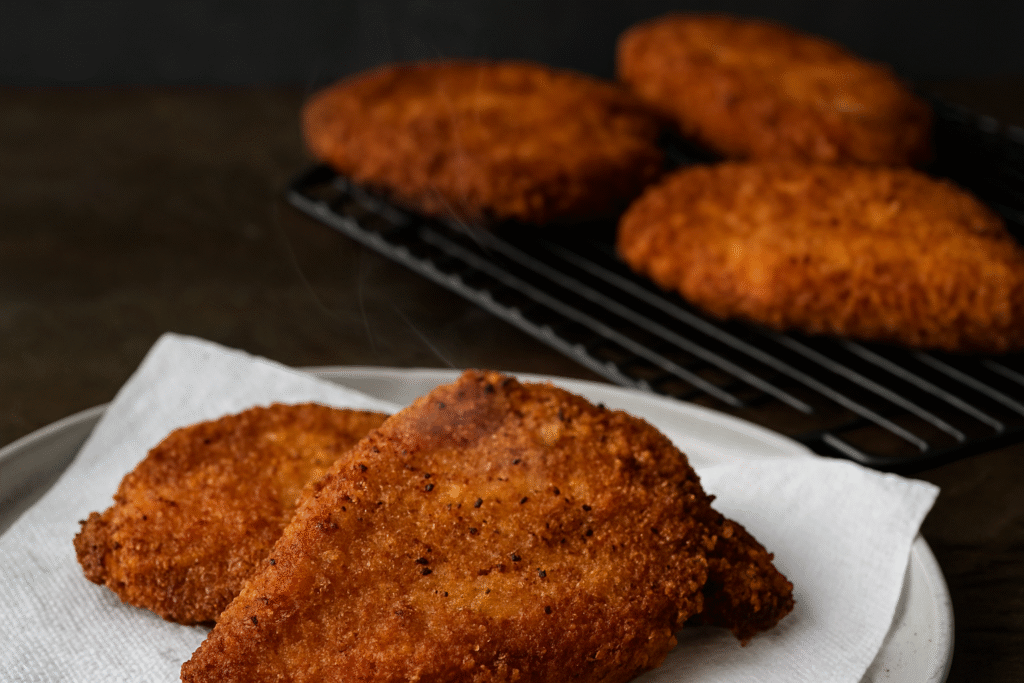
Drain on a Wire Rack:
Skip the paper towels. Place cutlets on a wire rack over a baking sheet to let air circulate and prevent sogginess.

Season Immediately:
Add a pinch of salt right after frying. It sticks better while the cutlet is hot.
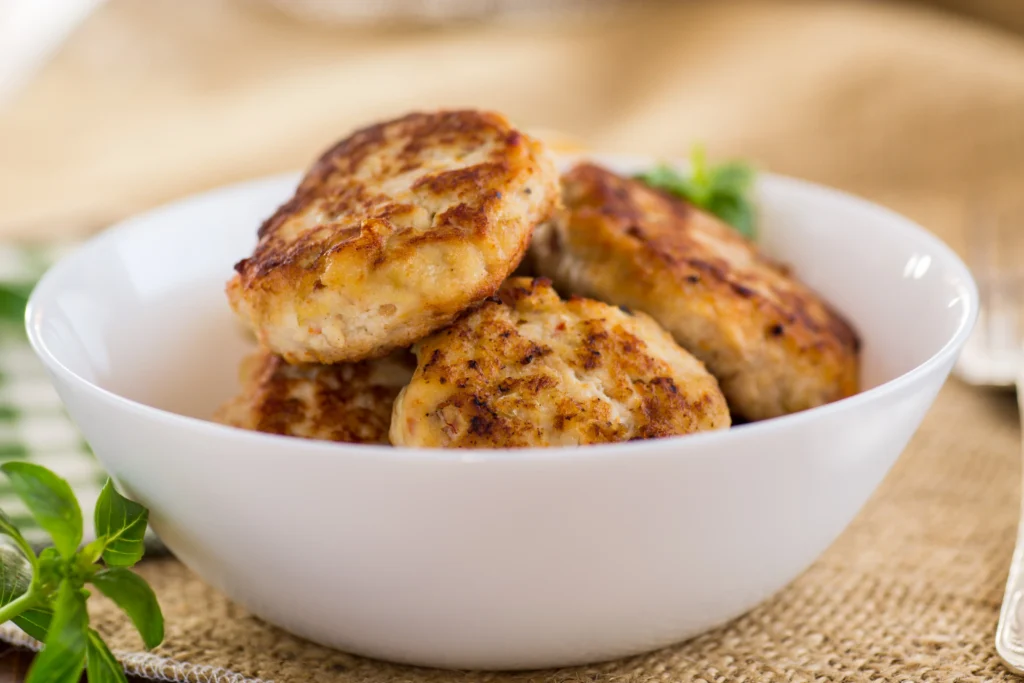
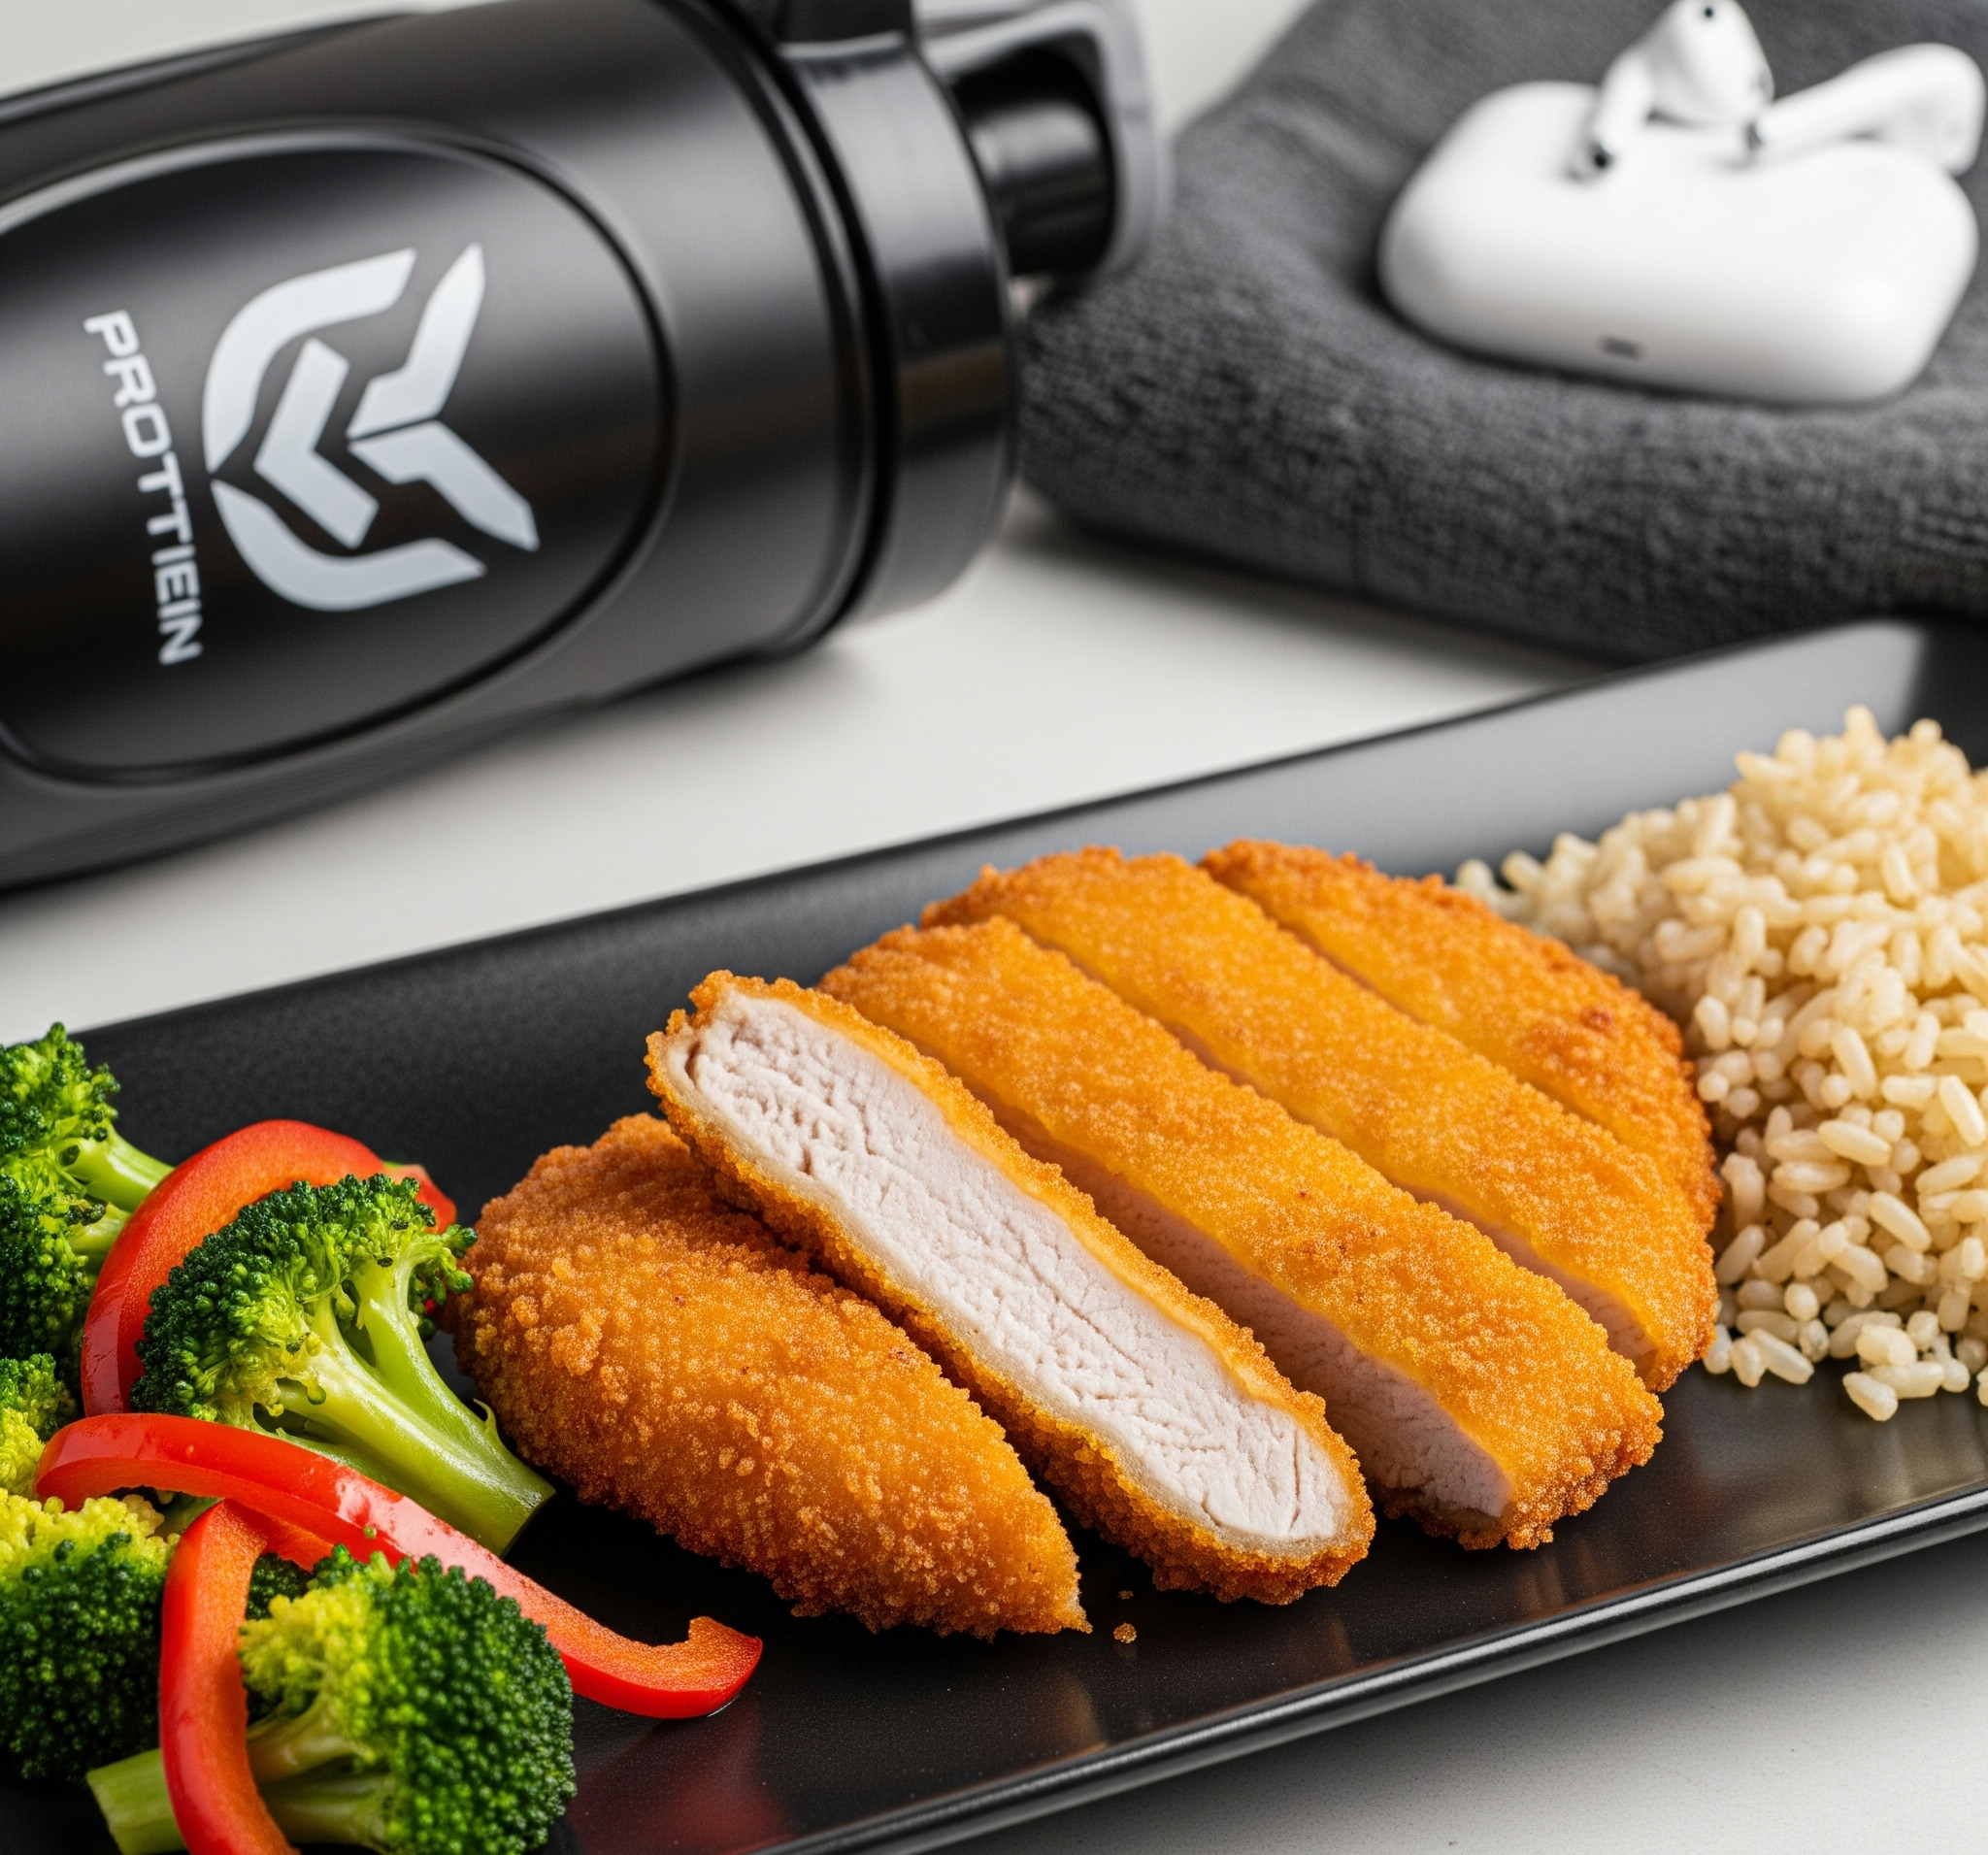
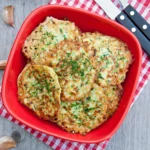
Serve While Hot:
They’re best fresh. Serve as soon as possible for peak crispness.

Leftover Cutlets? Here’s How to Reheat Them Right
Even the crispiest cutlets lose some crunch when stored. But you can bring it back:
- Air Fryer: Heat to 350–375°F and cook for 5–8 minutes, flipping halfway.
- Oven/Toaster Oven: Preheat to 375–400°F. Place cutlets on a rack and bake 10–15 minutes.
- Stovetop: Use a hot non-stick pan with a little oil. Cook 2–3 minutes per side, pressing gently for crispness.
- Avoid the microwave; it zaps the crunch every time.

Quick Anti-Soggy Checklist
- Cutlets not dried well enough?
- Wet hands during breading?
- Skipped chilling before frying?
- Too little oil?
- Oil temp too low or too high?
- Too many in the pan at once?
- Flipped too soon?
- Drained on a flat surface?
- Microwaved leftovers?
Check these boxes to troubleshoot your results.
Crisp Confidence, Every Time!
Crispy cutlets aren’t just a happy accident, they’re the result of smart prep, solid technique, and a few key rules. Once you understand the science behind sogginess, you’ll be on your way to cutlet greatness.
So next time you hear that satisfying crunch, remember: you made it happen. Fry boldly, and let your crispy cutlets reign supreme, only at Cutlets King. Want to put your skills to the test? Try our crispy chicken cutlet recipe and taste the difference that technique makes.