Now Reading: How to Make Crispy Dairy-Free Chicken Cutlets Without Losing Flavor
-
01
How to Make Crispy Dairy-Free Chicken Cutlets Without Losing Flavor
How to Make Crispy Dairy-Free Chicken Cutlets Without Losing Flavor
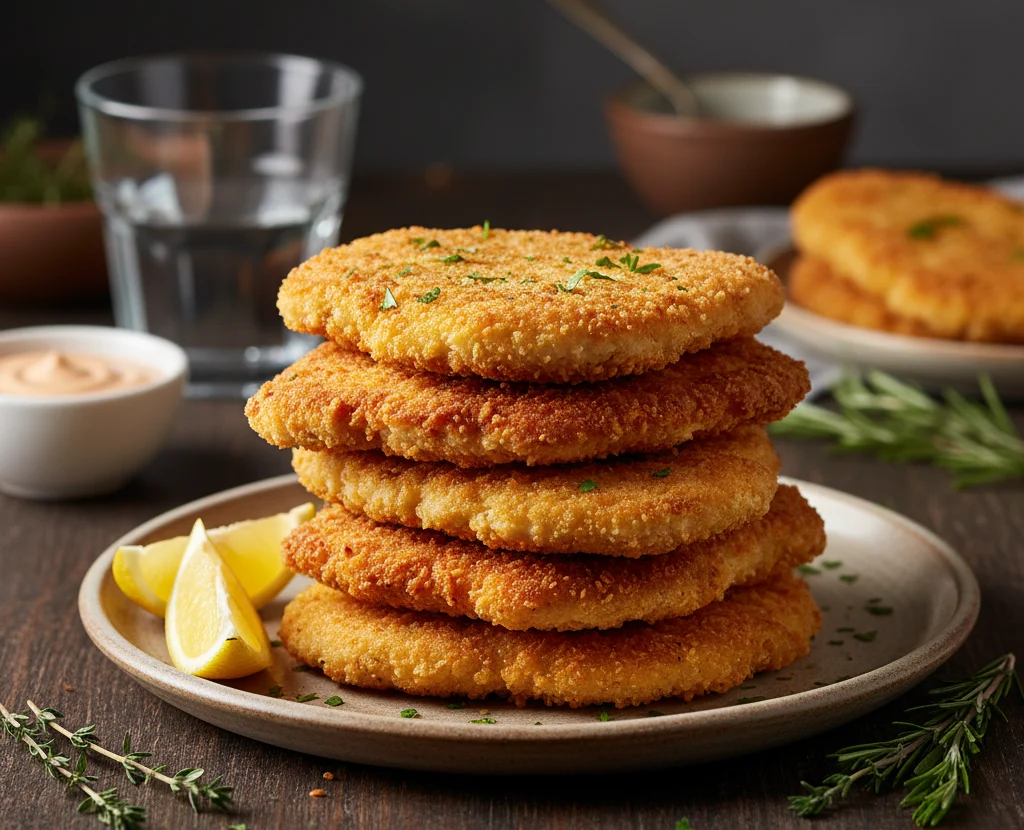
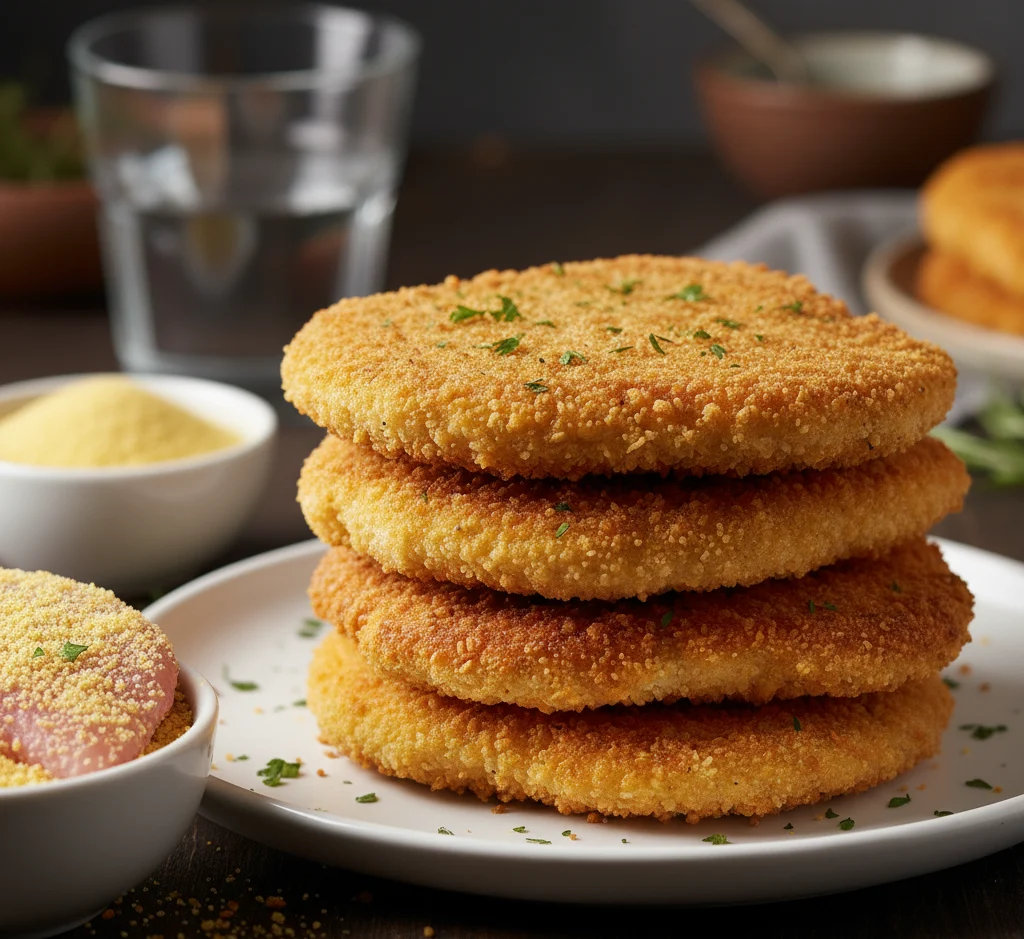
If there’s one dish that never fails to please, it’s a plate of crispy chicken cutlets. But what if you’re dairy-free? Don’t worry — you can still get that golden crunch and juicy tenderness without any milk, butter, or cheese. With simple swaps and smart techniques, you’ll have cutlets that taste just as good as the classic version.
Crispy chicken cutlets are basically the Beyoncé of weeknight dinners — crowd-pleasing, versatile, and always in style. Serve them with salads, pasta, or veggies; slice them into wraps; or meal prep for the week. Going dairy-free doesn’t mean compromising on flavor, and this recipe proves it.
This dairy-free version keeps things simple but satisfying: juicy chicken, a flavorful non-dairy marinade, and a crunchy breadcrumb coating. We will also share tips and fun twists to make them your own.
Why You’ll Love This Recipe
This recipe is perfect for anyone who loves crispy, golden chicken cutlets but needs or prefers to avoid dairy. Whether you’re lactose-intolerant, following a dairy-free or plant-based diet, or simply looking to lighten up your meals without sacrificing taste, these cutlets are a must-try. They’re also great for busy parents who want a family-friendly dinner that’s allergy-conscious yet still packed with flavor. Even if you’re just curious about trying something new in the kitchen, this recipe will show you how to achieve that irresistible crunch with simple, accessible ingredients.
Ingredients
Directions
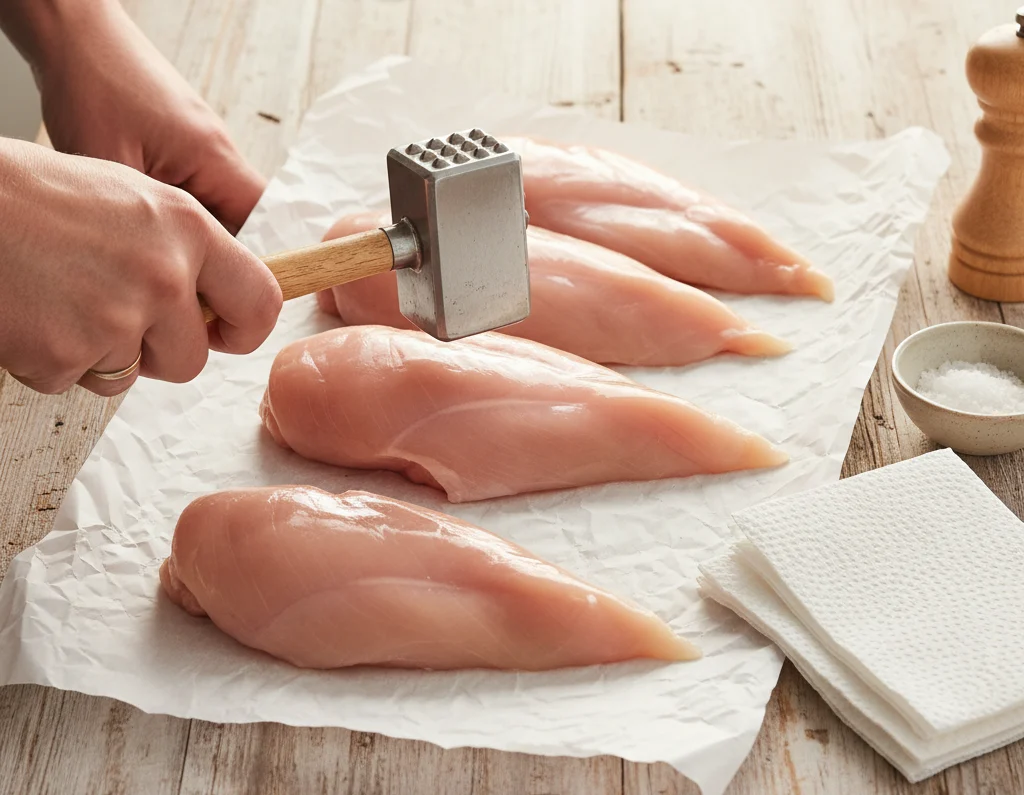
Step 1 – Prep the Chicken
Place the chicken breasts between two sheets of parchment paper or plastic wrap and pound them to even thickness using a meat mallet or rolling pin. This ensures even cooking and prevents dryness. Pat them dry with paper towels.
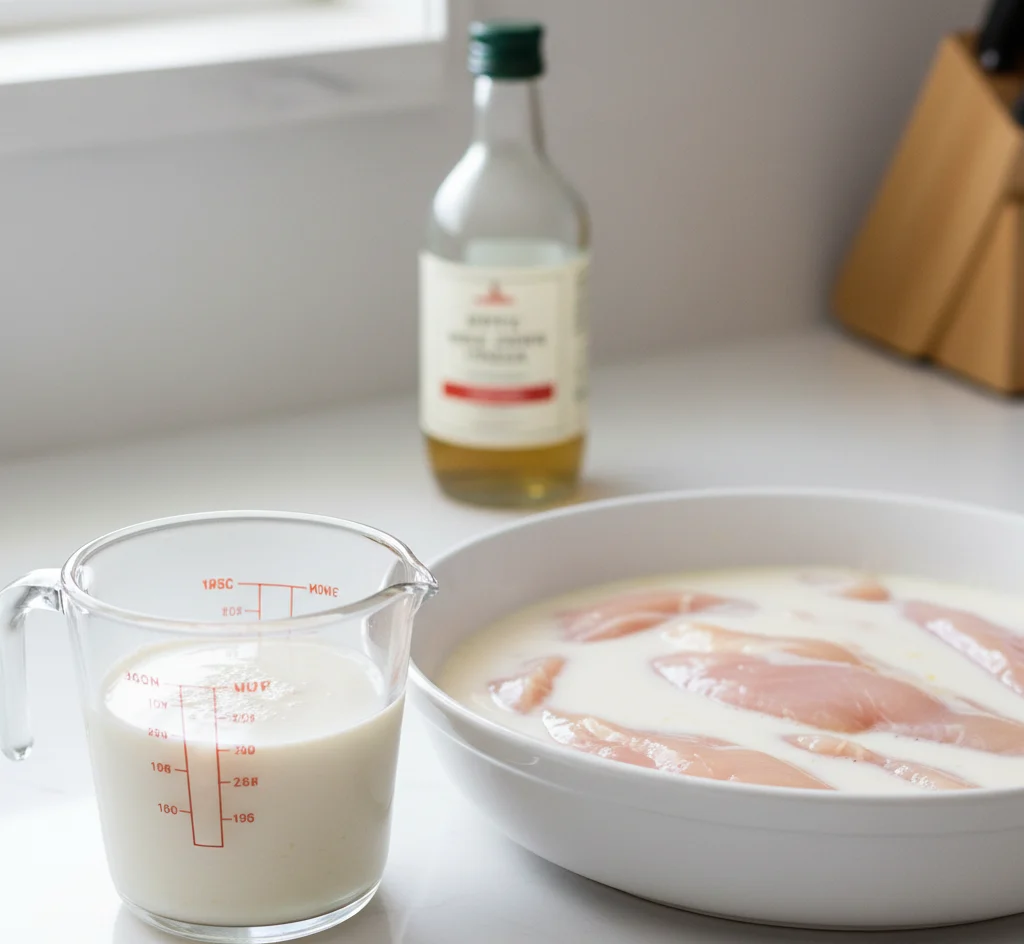
Step 2 – Make the Non-Dairy Marinade
Combine your non-dairy milk with lemon juice or apple cider vinegar to create a quick “buttermilk” substitute. Pour it over the chicken cutlets and let them soak for 15–20 minutes. This tenderizes the meat and helps the coating stick.
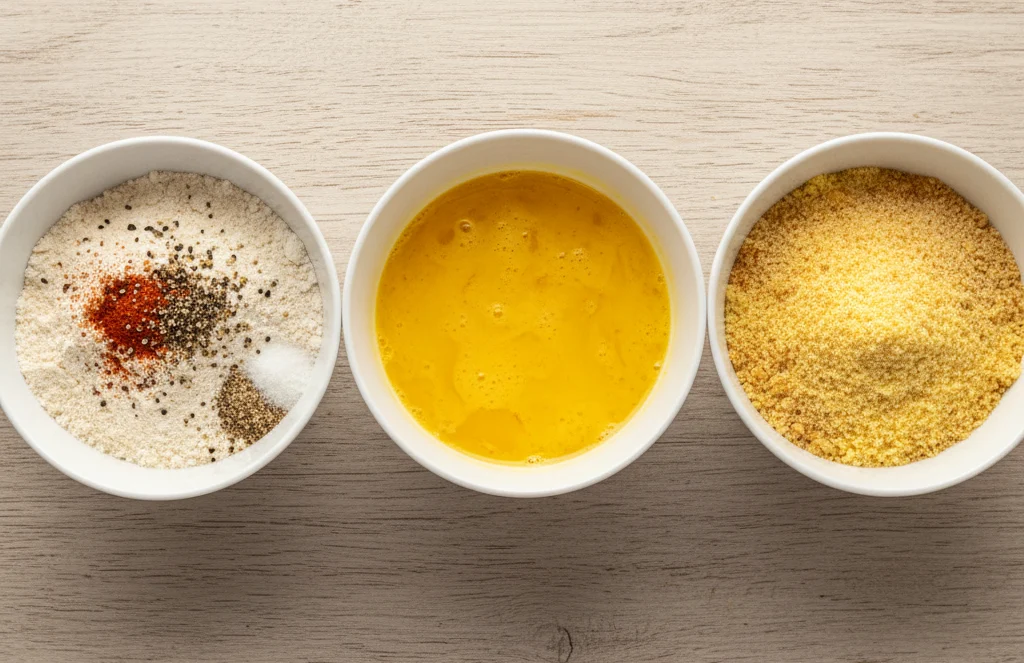
Step 3 – Set Up Your Breading Station
In one bowl, mix flour with salt, pepper, garlic powder, and smoked paprika. In a second bowl, beat the eggs or prepare your chosen egg substitute. In a third bowl, mix breadcrumbs with nutritional yeast or dairy-free parmesan alternative for extra flavor.
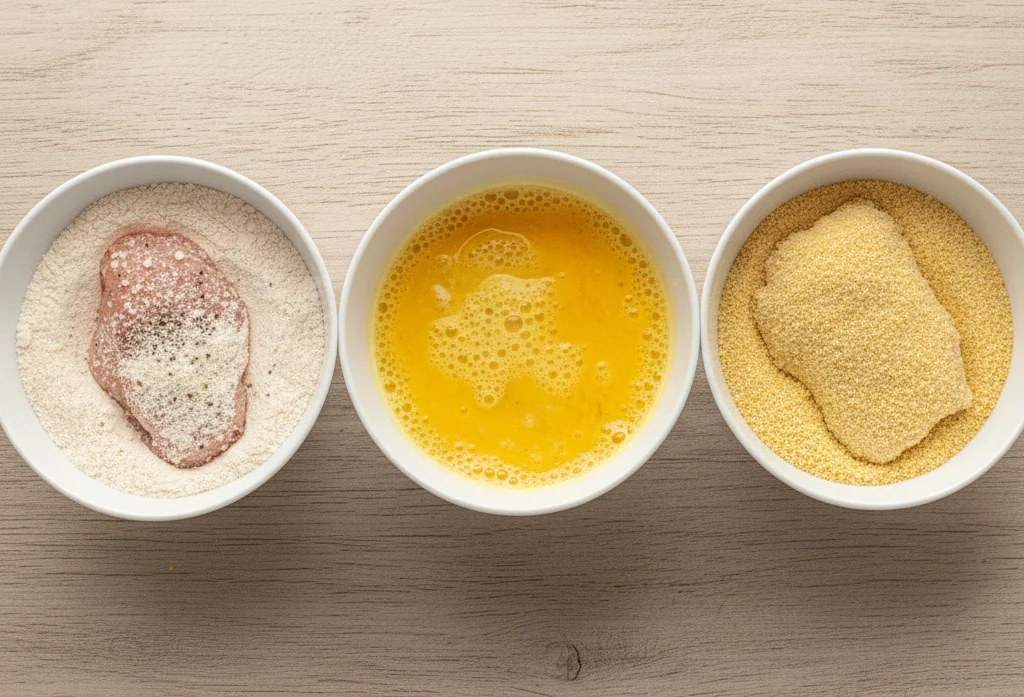
Step 4 – Bread the Cutlets
Remove chicken from the marinade, letting excess liquid drip off. Dredge each piece in the seasoned flour, dip into the egg or substitute, then coat thoroughly in the breadcrumb mixture, pressing gently so crumbs adhere.
Step 5 – Cook to Crispy Perfection
Pan-Fry: Heat a thin layer of oil in a large skillet over medium-high heat. Cook the cutlets 3–4 minutes per side until golden brown and cooked through (internal temperature 165°F).
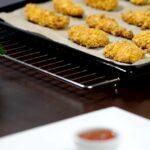
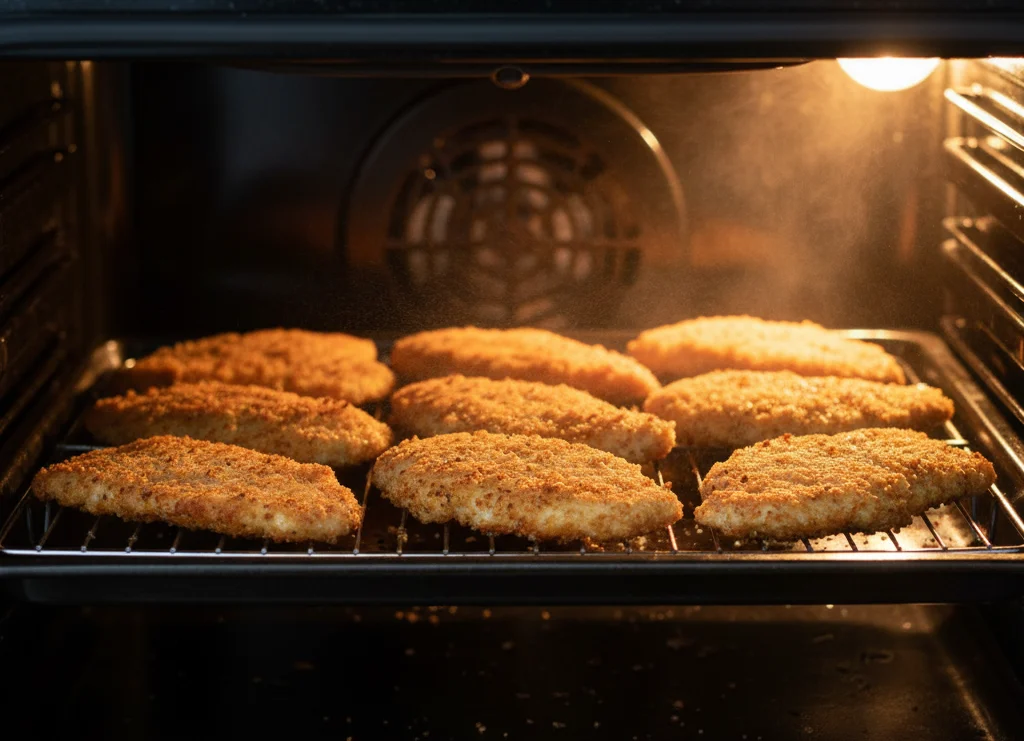
Oven-Bake: Preheat oven to 400°F (200°C). Place cutlets on a wire rack set over a baking sheet. Lightly spray both sides with oil and bake for 15–20 minutes, flipping halfway.
Air-Fry: Preheat air fryer to 380–400°F. Spray both sides of cutlets with oil, place in a single layer, and cook 8–10 minutes per side until crispy.
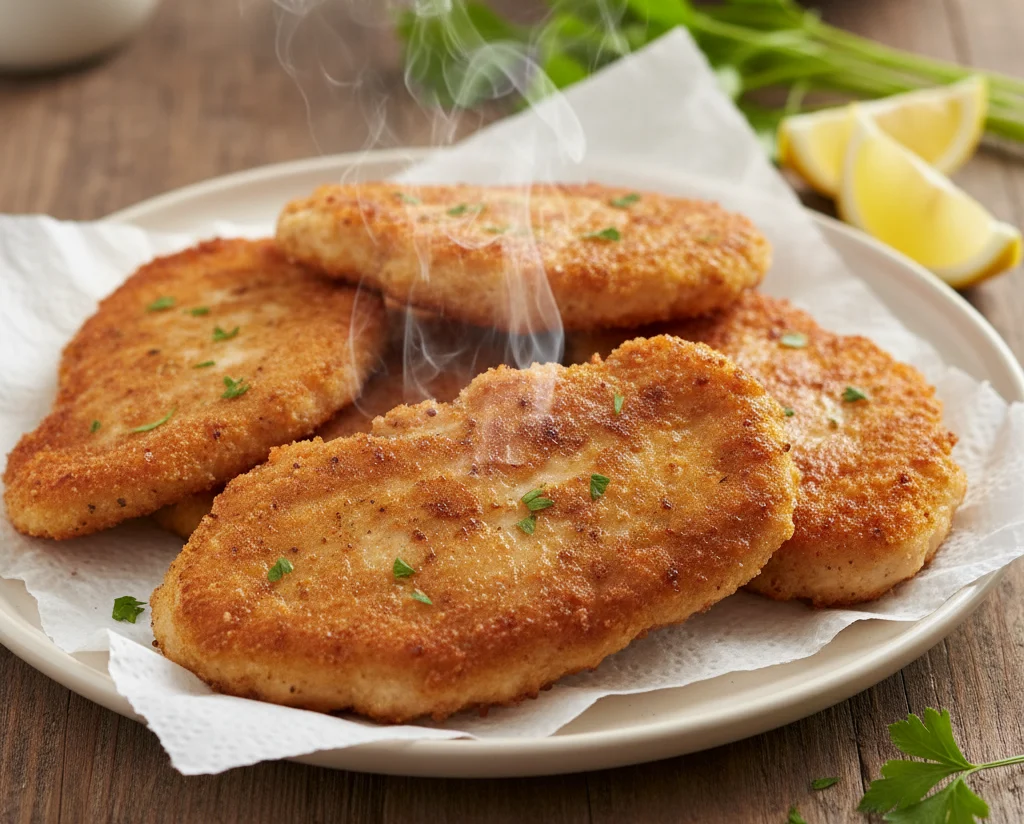
Step 6 – Rest and Serve
Transfer cooked cutlets to a plate lined with paper towels. Let them rest for 3–5 minutes to allow juices to redistribute before serving.
Tips for the Crispiest Dairy-Free Chicken Cutlets
- Pat Dry First: Moisture is the enemy of crunch. Always pat chicken dry before breading.
- Flavor Every Layer: Add herbs and spices to the flour, binder, and breadcrumbs for maximum taste.
- Use Panko for Extra Crunch: Regular breadcrumbs work, but panko gives that restaurant-style crisp.
- Press the Crumbs: Gently press the breadcrumb coating onto the chicken to help it stick.
- Cook Hot and Fast: Whether frying, baking, or air-frying, keep the heat high so the outside crisps before the inside overcooks.
- Check Temperature: Use a meat thermometer to ensure the thickest part reaches 165°F for safe, juicy chicken.

Fun Flavor Twists
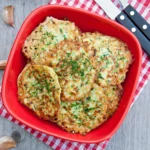
- Lemon-Herb Cutlets: Mix lemon zest and chopped parsley into the breadcrumbs for a bright, fresh taste.
- Spicy Kick: Add cayenne pepper or chili flakes to the flour for a gentle heat.
- Nutty Crunch: Replace part of the breadcrumbs with crushed almonds, pecans, or seeds.
- “Cheesy” Coating: Stir nutritional yeast or dairy-free parmesan into the crumbs for a cheesy note without dairy.

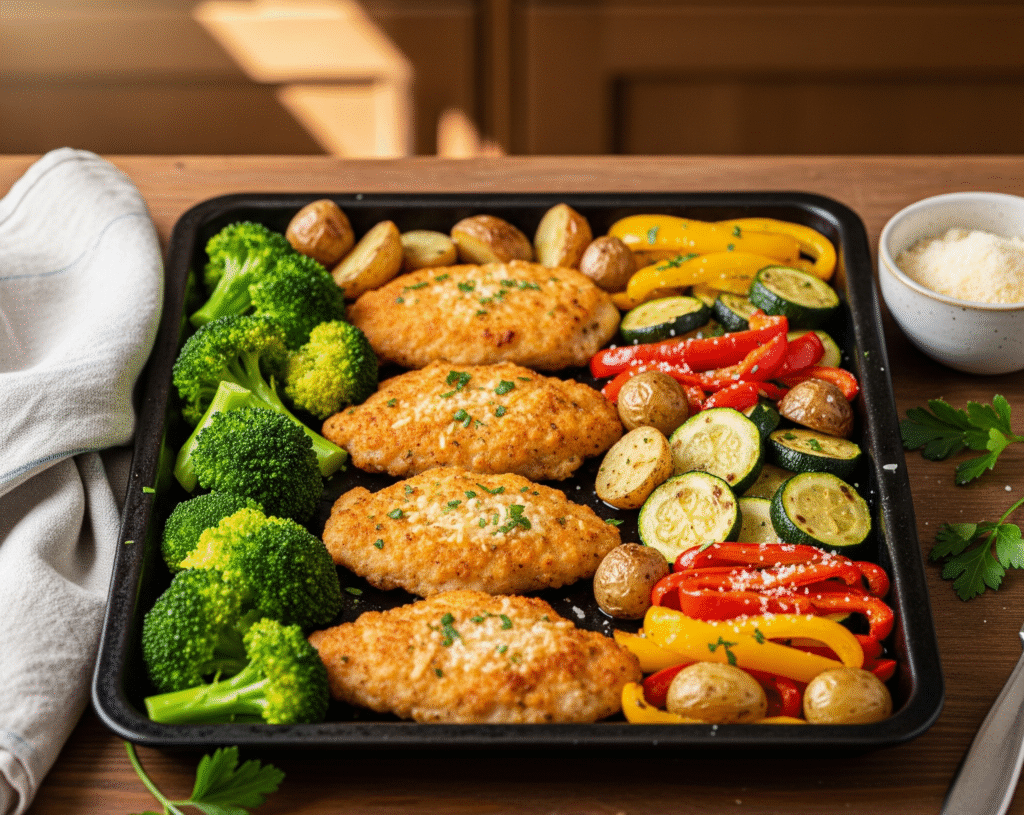
Serving Ideas
These dairy-free chicken cutlets are incredibly versatile. Try them with:
- Creamy mashed potatoes (or a dairy-free version)
- Fresh green salads with lemon vinaigrette
- Roasted vegetables such as asparagus or carrots
- Inside wraps or sandwiches with dairy-free mayo and crisp lettuce
- As a protein topping for pasta with tomato sauce
Nutrition Facts
- Amount Per Serving
- Calories 320kcal
- % Daily Value *
- Total Carbohydrate 25g9%
- Protein 35g70%
* Percent Daily Values are based on a 2,000 calorie diet. Your daily value may be higher or lower depending on your calorie needs.
FAQs
Can I make these cutlets gluten-free as well as dairy-free?
Absolutely. Use gluten-free flour and gluten-free breadcrumbs to keep the coating crisp and safe for gluten-sensitive eaters.
Can I prepare the cutlets ahead of time?
Yes. Bread the cutlets and refrigerate them on a baking sheet for up to 24 hours before cooking. This actually helps the coating stick better.
What’s the best oil for frying?
Neutral oils with a high smoke point, like canola, avocado, or light olive oil, work best.
How do I keep cutlets crispy after cooking?
Place them on a wire rack instead of a plate so air circulates underneath. If you’re cooking a large batch, keep them warm in a low oven (around 200°F).
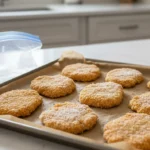
Can I freeze dairy-free chicken cutlets?
Yes. Freeze cooked cutlets on a baking sheet until solid, then transfer to freezer bags. Reheat directly from frozen in the oven or air fryer for the best texture.