Now Reading: Sheet Pan Chicken Cutlets – The Easiest Dinner Ever
-
01
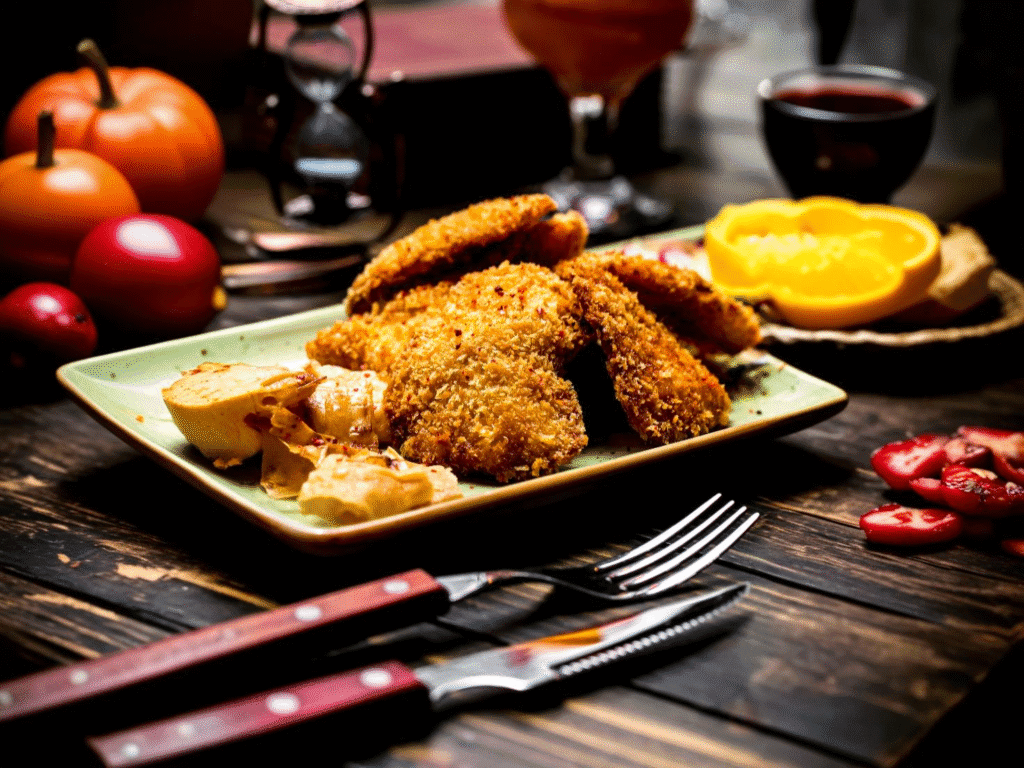
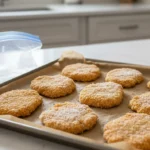
Sheet Pan Chicken Cutlets – The Easiest Dinner Ever
Looking for a hassle-free dinner that’s crispy, flavorful, and ready in no time? Say hello to sheet pan chicken cutlets—a recipe so easy, it might just become your new weeknight favorite. With minimal prep and just one pan to clean, this is the ultimate one-pan chicken cutlet recipe for busy families, students, or anyone who craves comfort food without the mess.
Whether you’re feeding a crowd or meal prepping for the week, these easy baked chicken cutlets are golden on the outside, juicy on the inside, and bursting with flavor. And the best part? Everything bakes in one pan, leaving you with more time to enjoy your meal and less time doing dishes.
What Are Sheet Pan Chicken Cutlets?
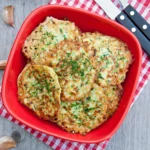
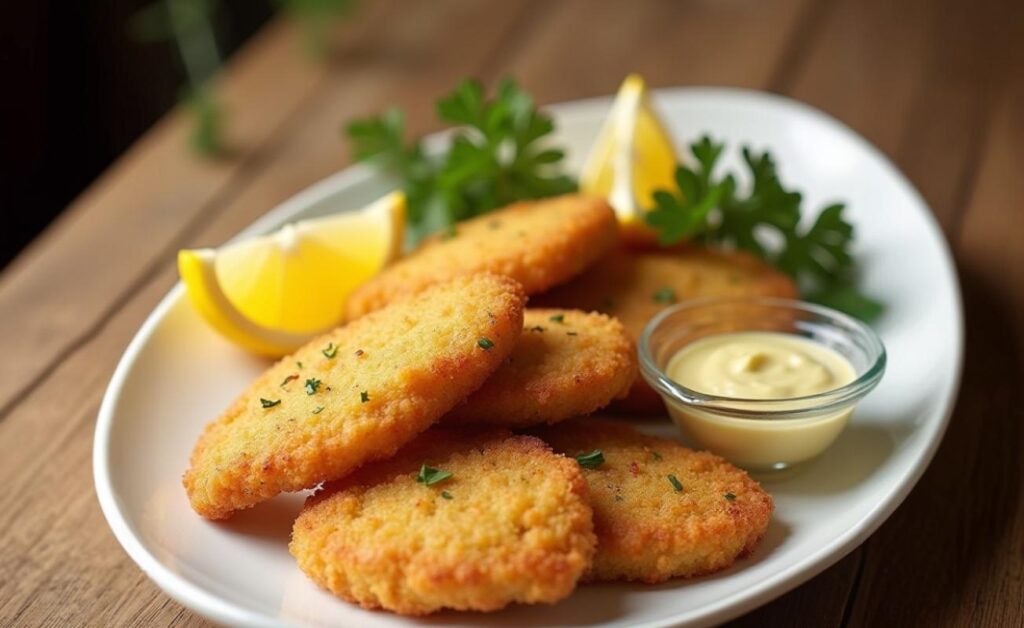
Sheet pan chicken cutlets are thin slices of chicken breast that are coated in breadcrumbs and baked to crispy perfection on a single baking sheet. Unlike pan-fried cutlets, they’re oven-baked, making them healthier, less greasy, and much easier to clean up.
Why You’ll Love This Recipe
- Quick & Easy – Ready in under 30 minutes
- Healthier Option – Baked, not fried
- Crispy Texture – Thanks to panko breadcrumbs
- Minimal Cleanup – One pan, no frying mess
- Family-Friendly – Kids and adults both love them
- Perfect for Meal Prep – Store and reheat easily
Ingredients
Directions
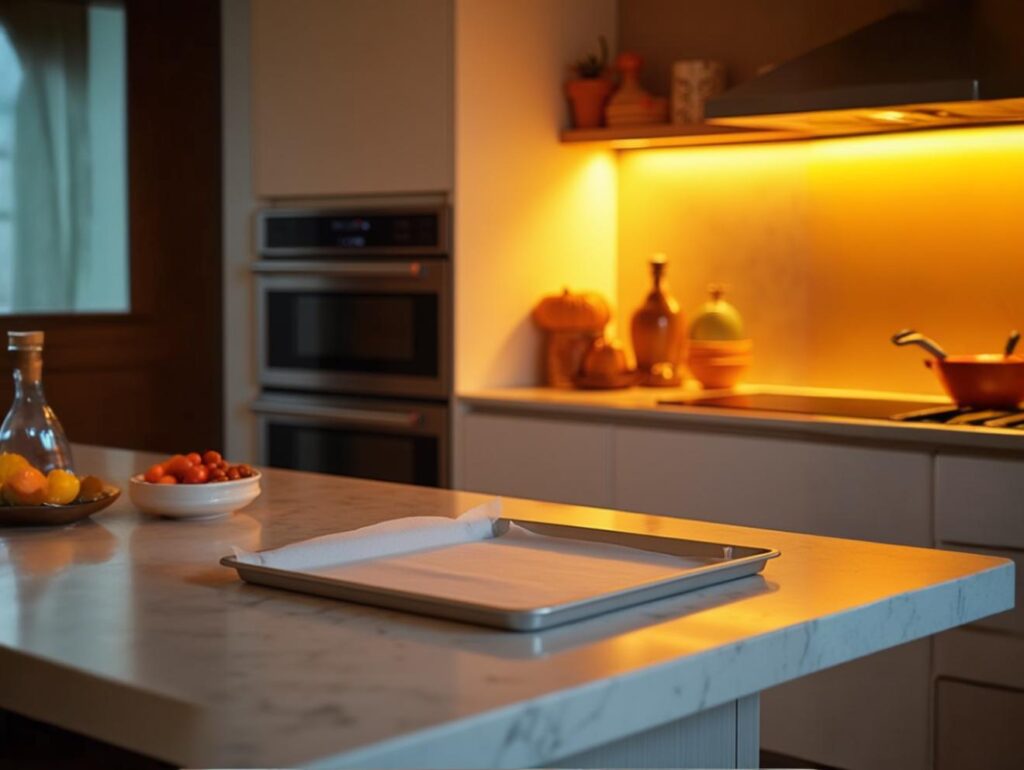
Step 1: Preheat and Prepare
- Preheat your oven to 425°F (220°C) for optimal crispiness.
- Line a sheet pan with parchment paper or foil to make cleanup easy.
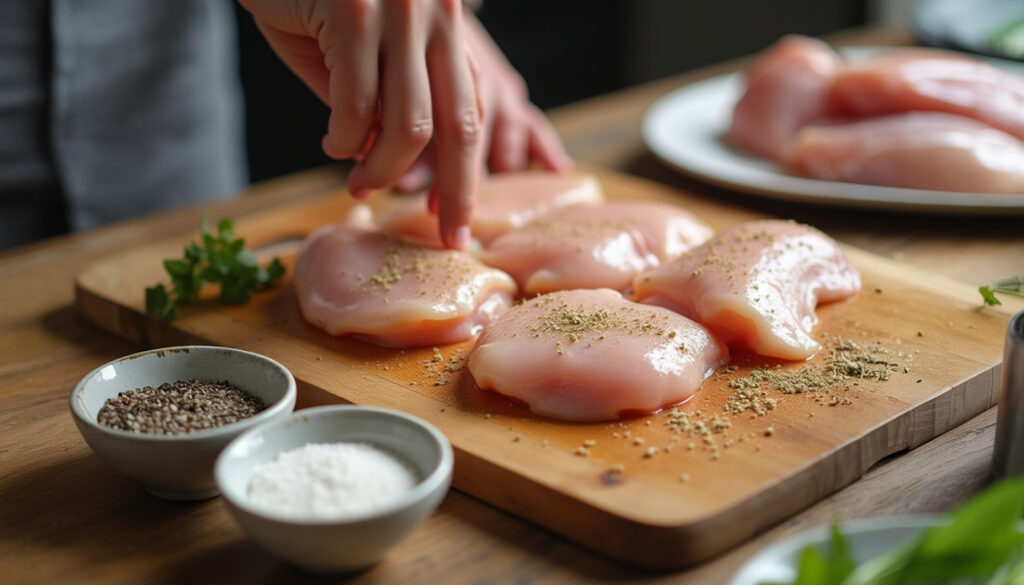
Step 2: Season the Chicken
- Pat the chicken cutlets dry using paper towels.
- Season both sides evenly with salt, pepper, and garlic powder.
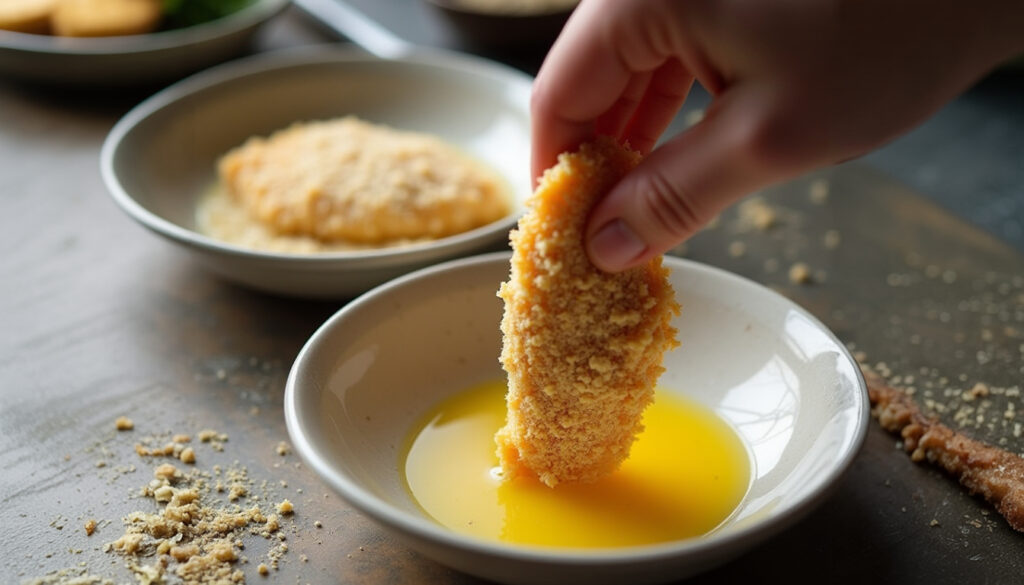
Step 3: Set Up and Bread the Cutlets
- In one bowl, beat the egg; in another, combine panko, Parmesan, and Italian seasoning.
- Dip each cutlet in the egg, then coat with the breadcrumb mixture, pressing gently to adhere.
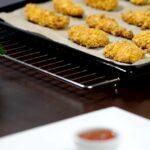
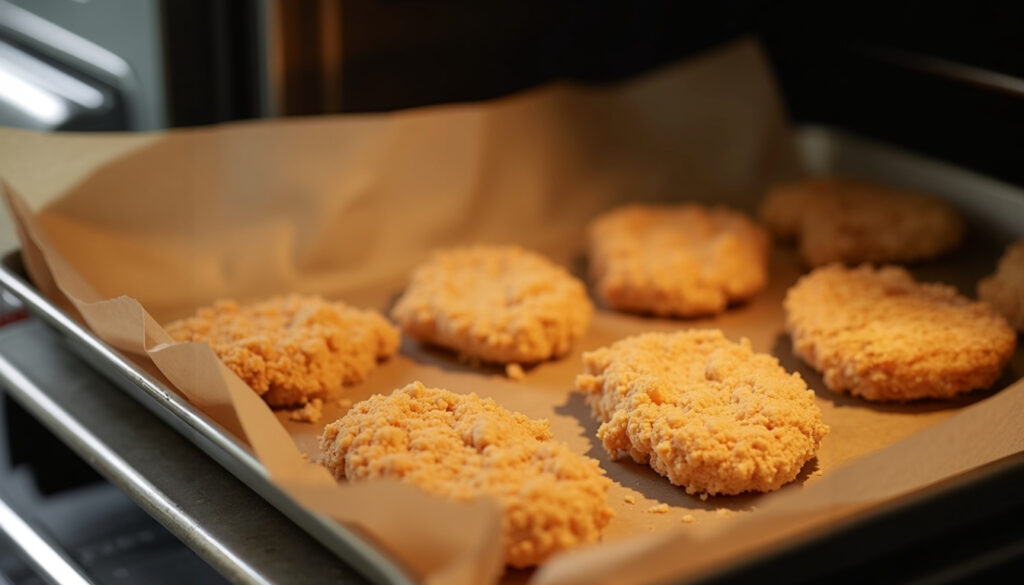
Step 4: Arrange and Bake
- Place the breaded cutlets on the prepared sheet pan.
- Drizzle or spray with olive oil and bake for 20–25 minutes, flipping halfway through.
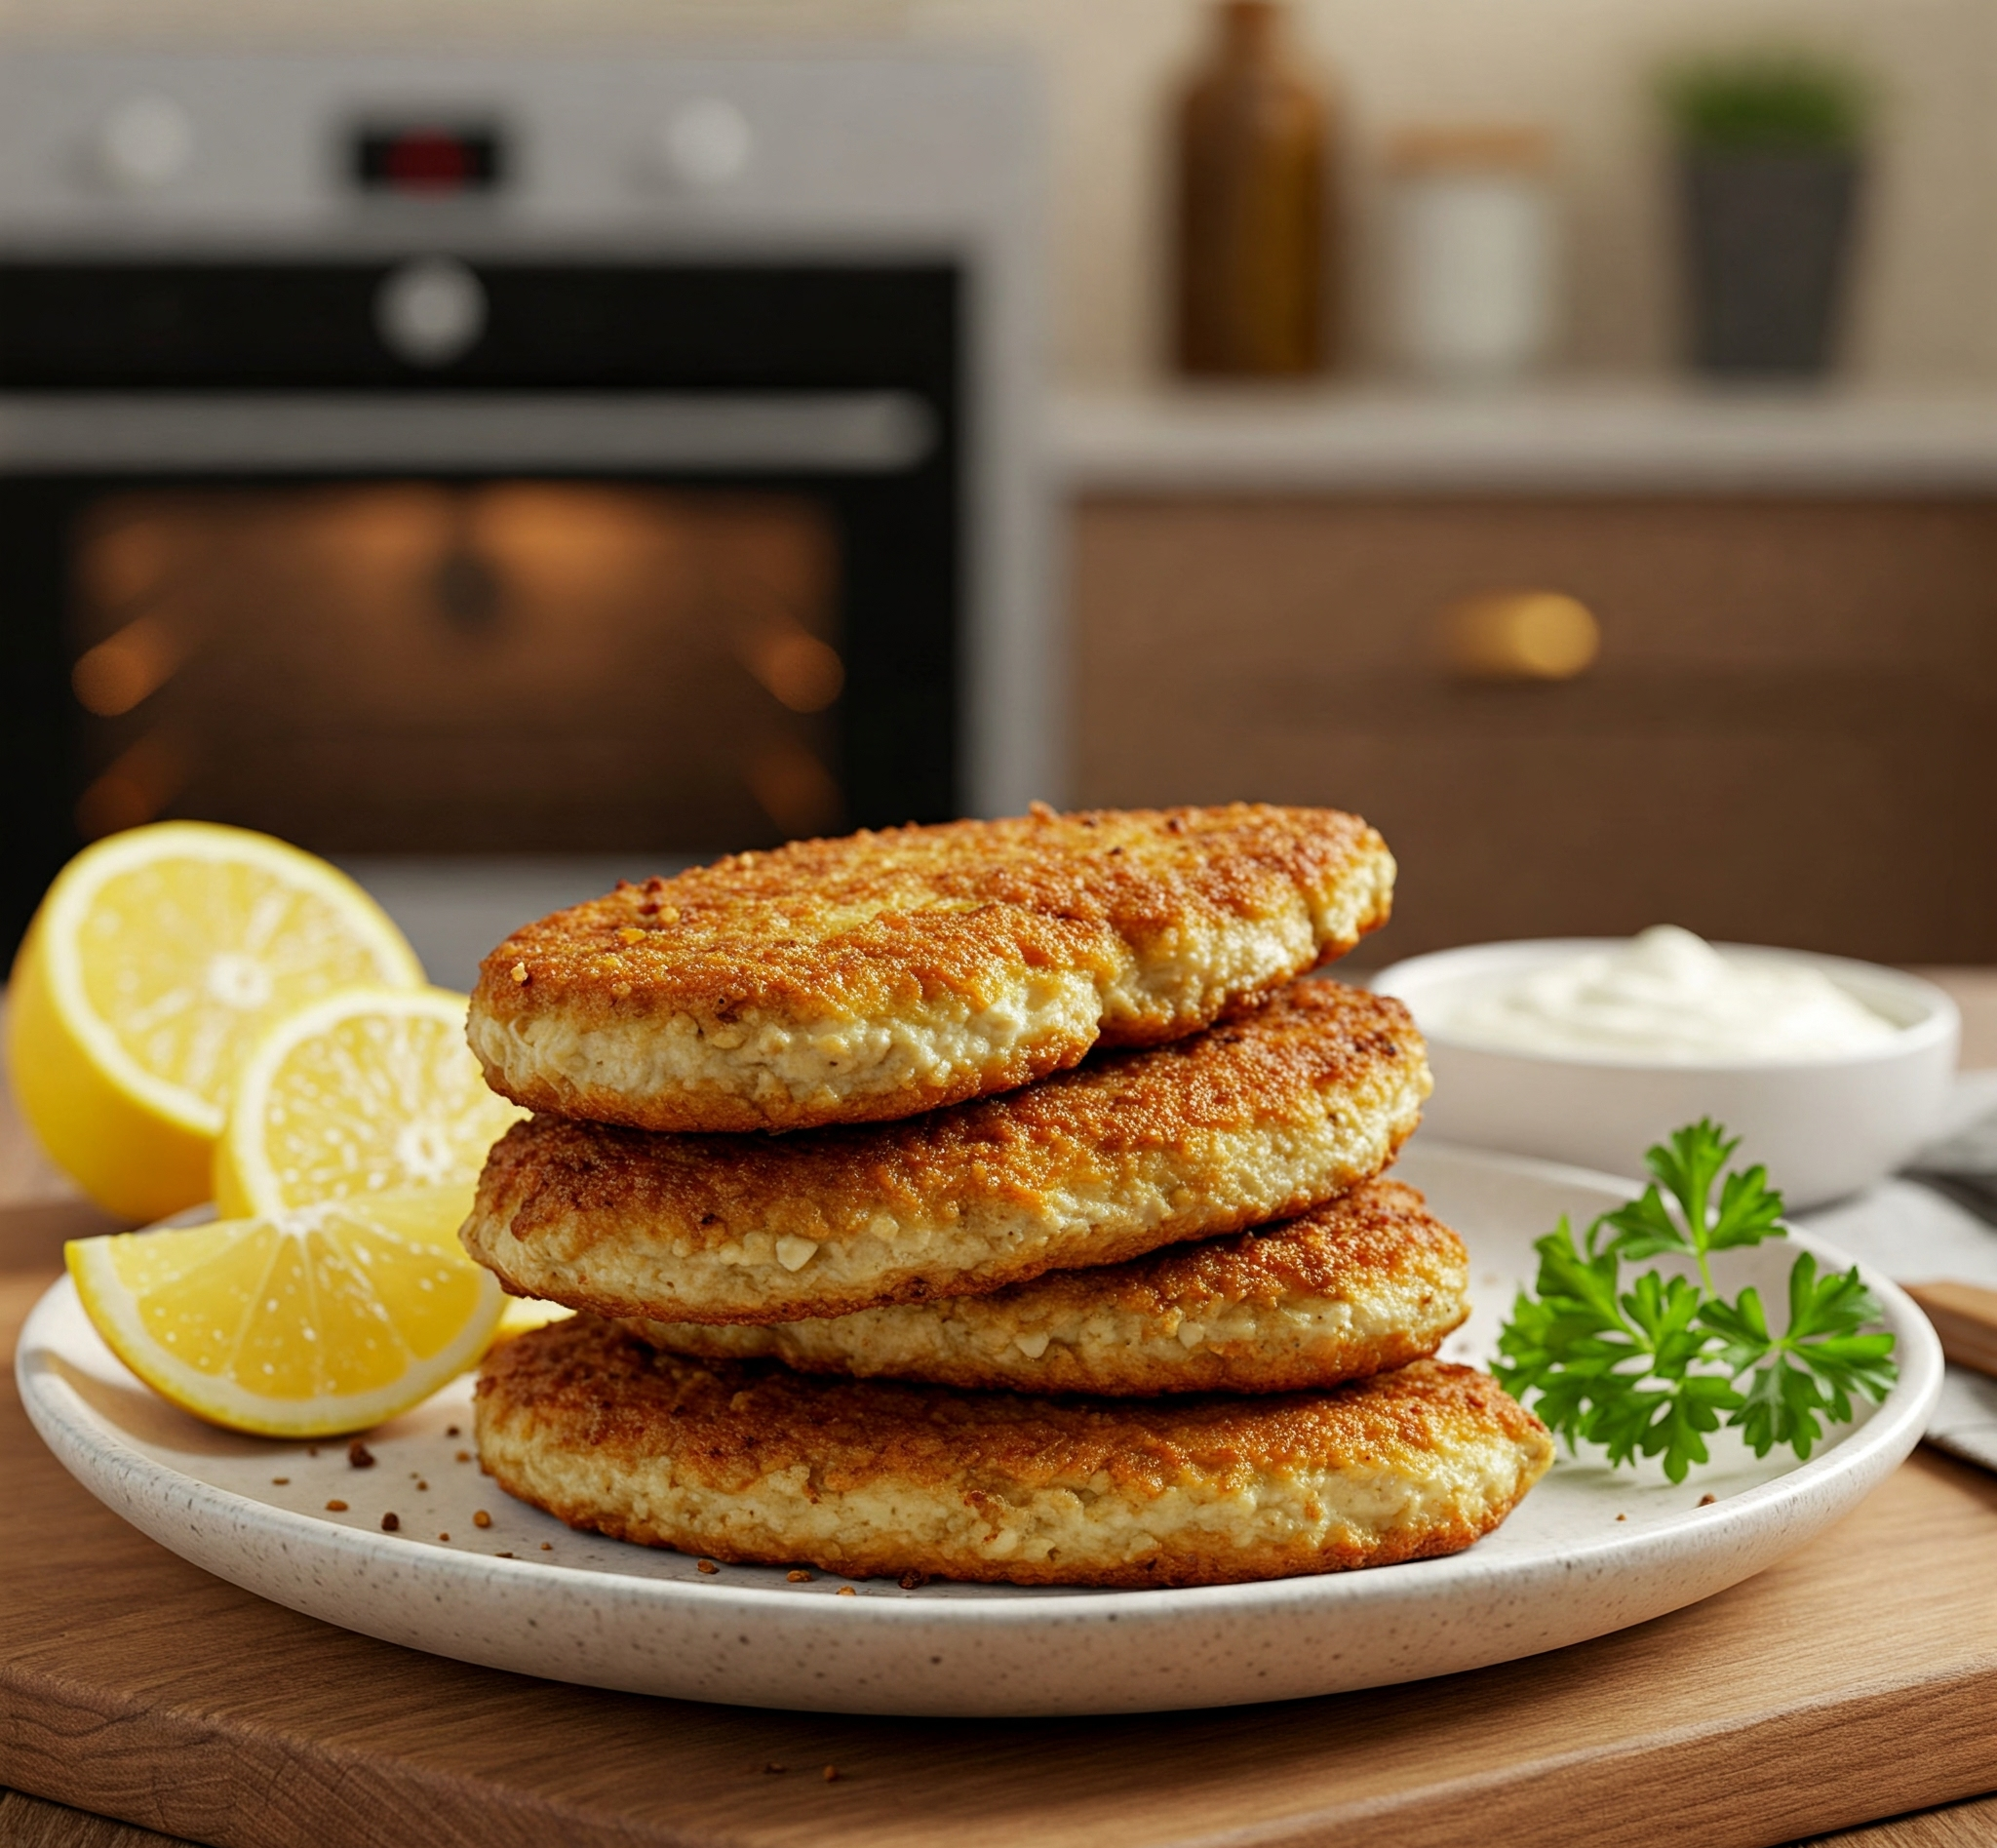
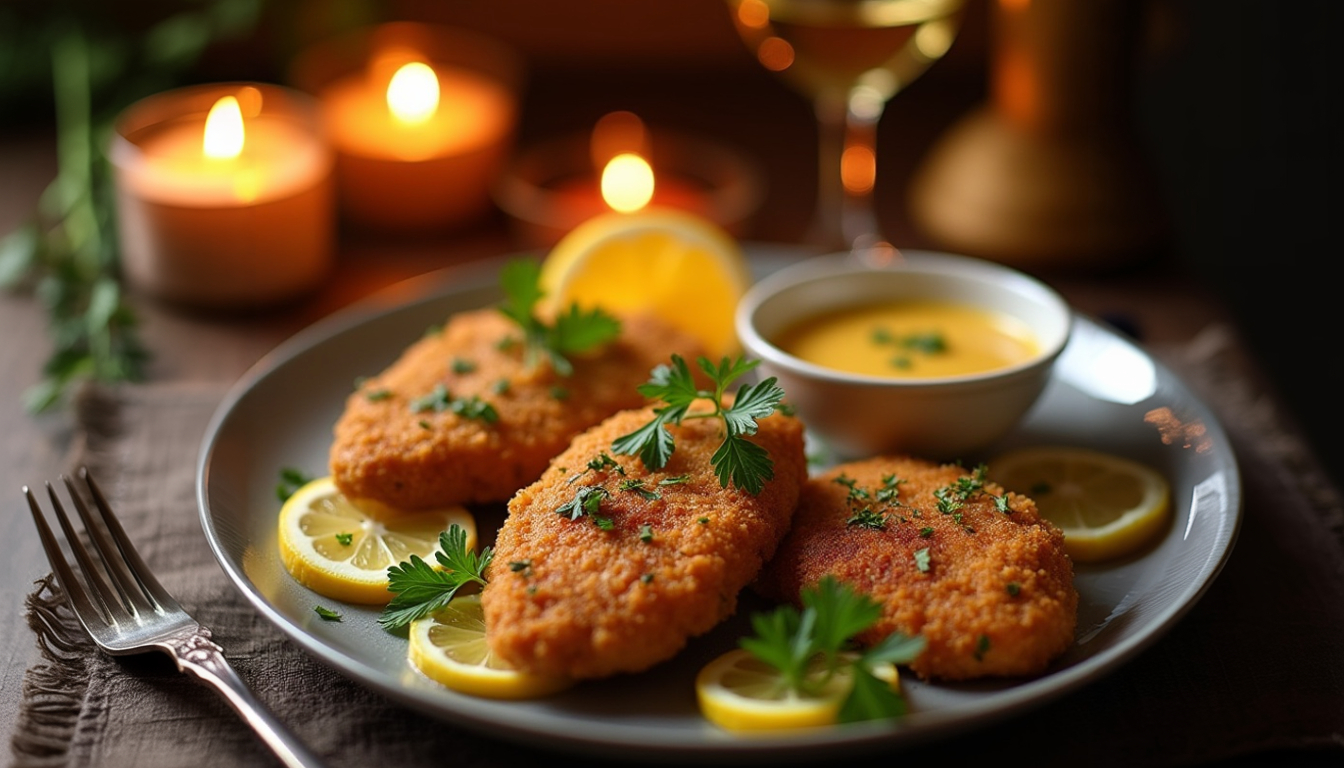
Step 5: Finish and Serve
- Let the baked cutlets rest for 2–3 minutes after removing them from the oven.
- Serve with lemon wedges, fresh herbs, or your favorite dipping sauce.

Pro Tips for Crispy, Juicy Cutlets
- Use panko breadcrumbs for maximum crunch.
- Don’t overcrowd the pan—leave space between cutlets.
- Add a pinch of paprika or cayenne to the breadcrumb mix for a spicy kick.
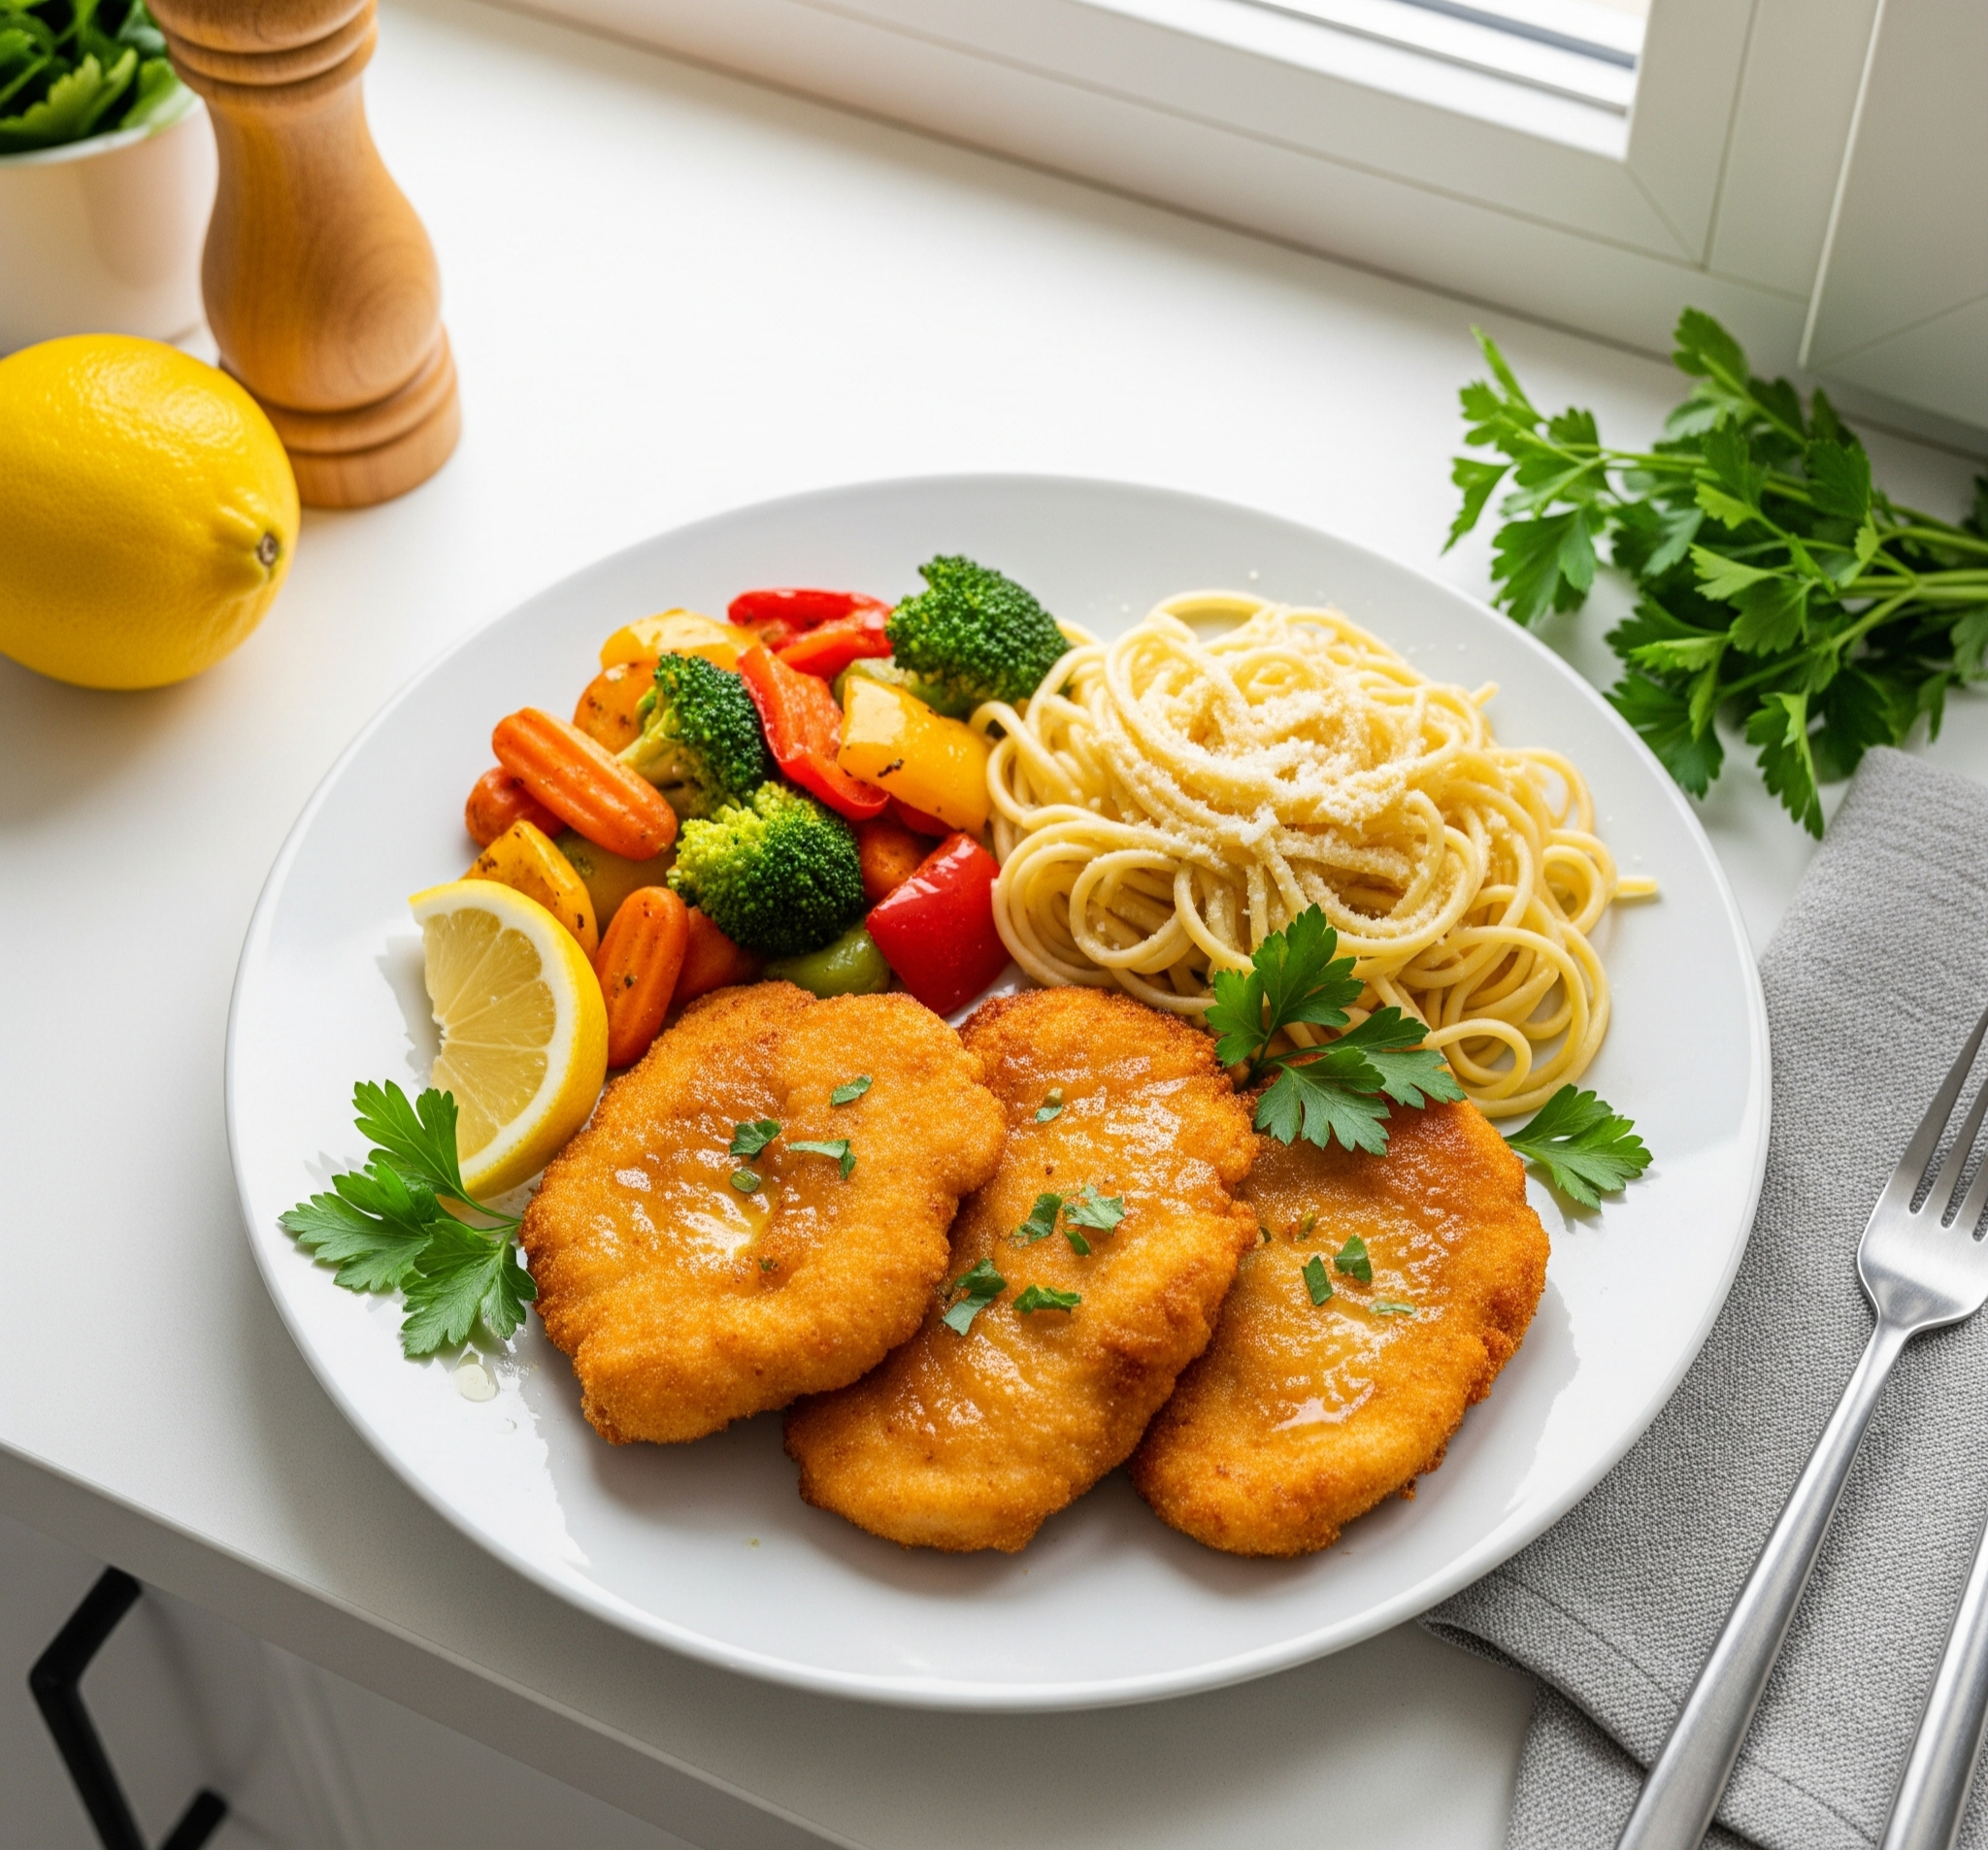
- Serve over pasta, salad, or alongside roasted veggies.
- For extra crispiness, broil for the last 2 minutes (watch closely!).

Nutrition Facts
- Amount Per Serving
- Calories 340kcal
- % Daily Value *
- Total Fat 15g24%
- Total Carbohydrate 18g6%
- Protein 30g60%
* Percent Daily Values are based on a 2,000 calorie diet. Your daily value may be higher or lower depending on your calorie needs.
One Pan, Endless Possibilities!
Sheet pan chicken cutlets are proof that weeknight dinners can be both easy and delicious. Crispy, juicy, and cooked to perfection, all with minimal mess and maximum flavor. If you’re looking to switch things up, try the best air fryer chicken cutlet recipe for an even quicker, crispier twist with zero oil and all the crunch.
FAQs
Can I use regular breadcrumbs instead of panko?
Yes, but panko gives a crispier, lighter texture. Regular breadcrumbs work too, but may result in a softer coating.
Can I add veggies to the sheet pan?
Definitely! Add quick-cooking vegetables like zucchini, bell peppers, or cherry tomatoes so everything roasts evenly and finishes at the same time.
Can I make this recipe gluten-free?
Yes, use gluten-free breadcrumbs and check all seasonings or sauces to ensure they don’t contain any hidden sources of gluten.
How do I store and reheat leftovers?
Refrigerate in an airtight container for up to 4 days. Reheat in the oven to maintain crispiness and avoid sogginess.
Can I use chicken thighs instead of cutlets?
Yes, boneless chicken thighs work well, but they may need slightly longer cooking time to ensure they’re fully cooked through.